Content
Choosing the right safety lanyard for your work environment begins with a simple decision: are you trying to prevent reaching an edge (restraint), support hands-free work (positioning), or arrest a fall (fall arrest)? A lanyard that is perfect for one purpose can be unsafe for another.
For fall arrest applications, your lanyard selection must support system performance targets commonly required by regulation and manufacturer instructions—most notably limiting fall forces and controlling free-fall and deceleration. If you cannot meet clearance and anchorage requirements, the “right” lanyard may actually be a different connecting device (for example, a self-retracting lifeline) or a different anchoring approach.
Document the task, the anchor location, the walking/working path, and what is below the worker. Then choose the lanyard (or alternative) that fits those constraints rather than forcing the work to fit the lanyard.
A safety lanyard is not a generic strap—its construction and intended use case determine whether it can safely manage energy, edge exposure, and movement. Use the categories below to narrow your options quickly.
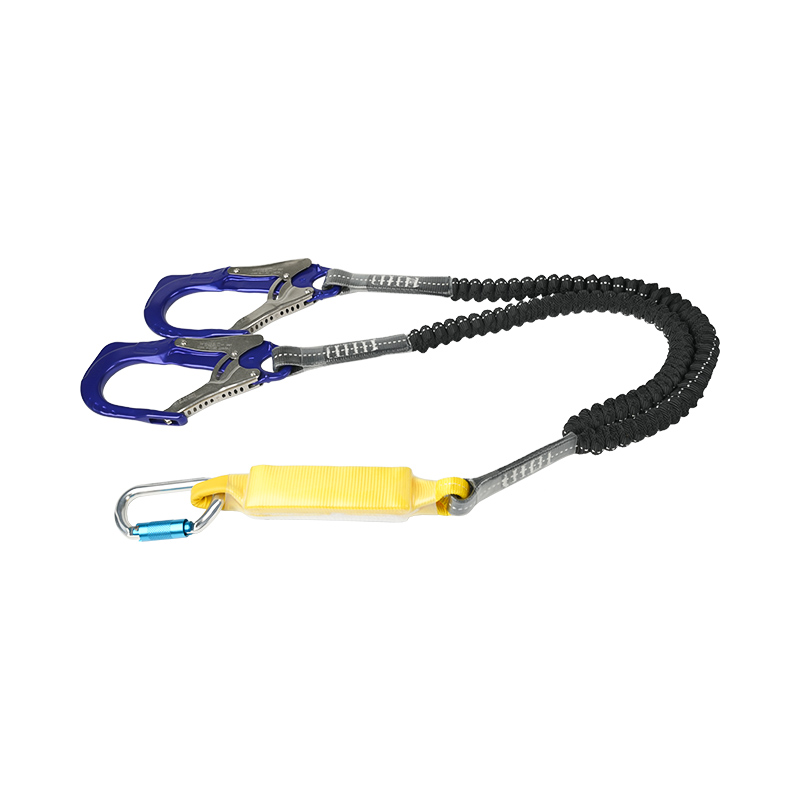
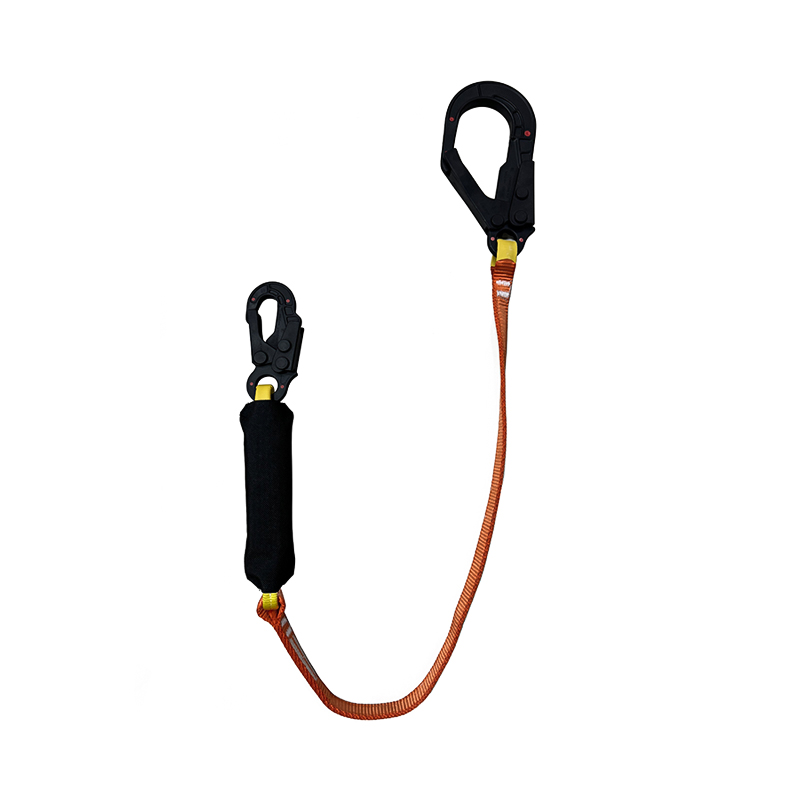
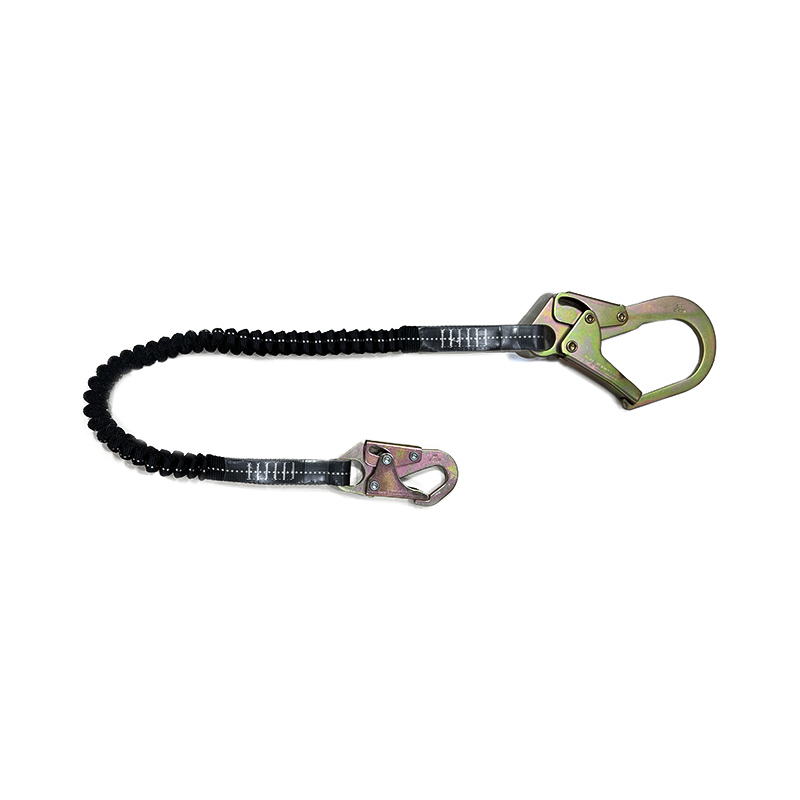
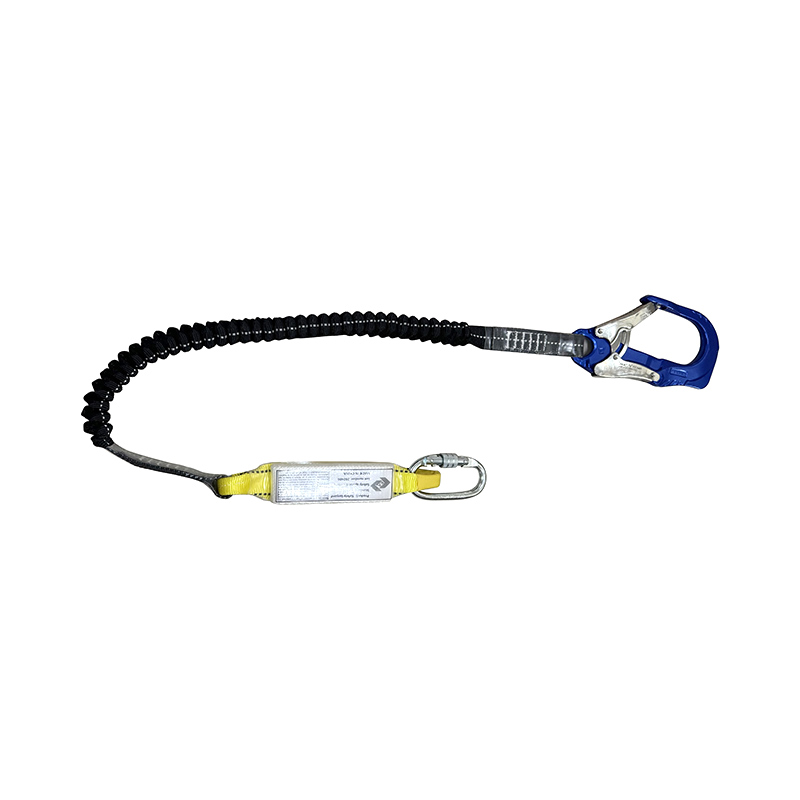
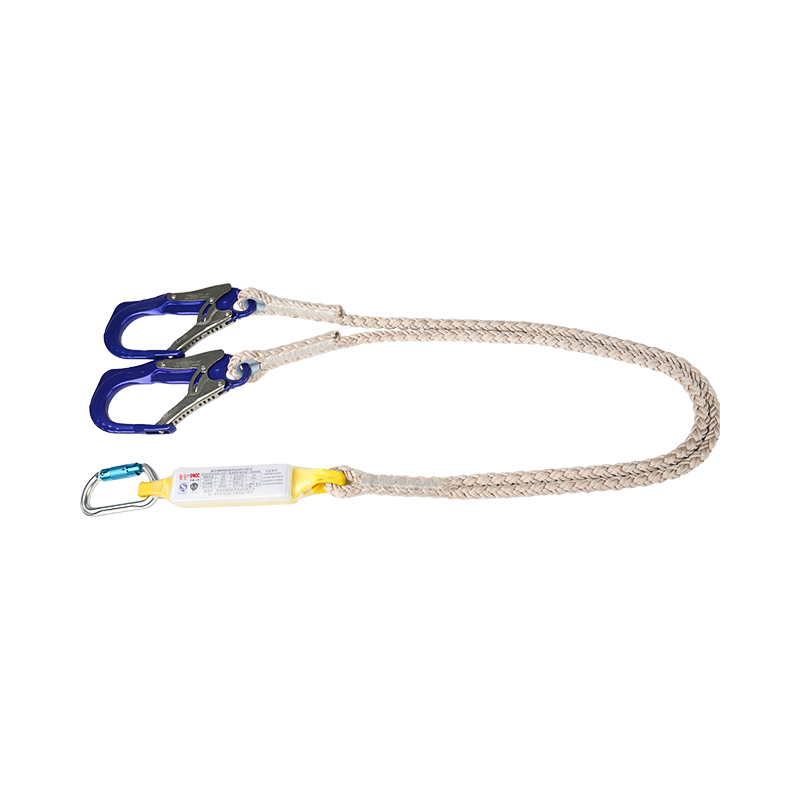
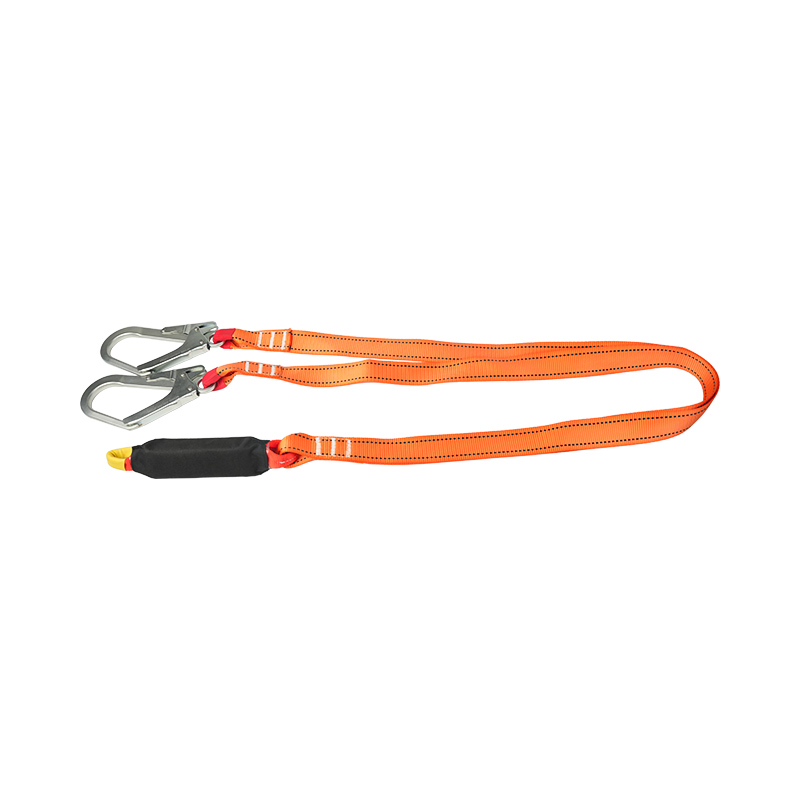
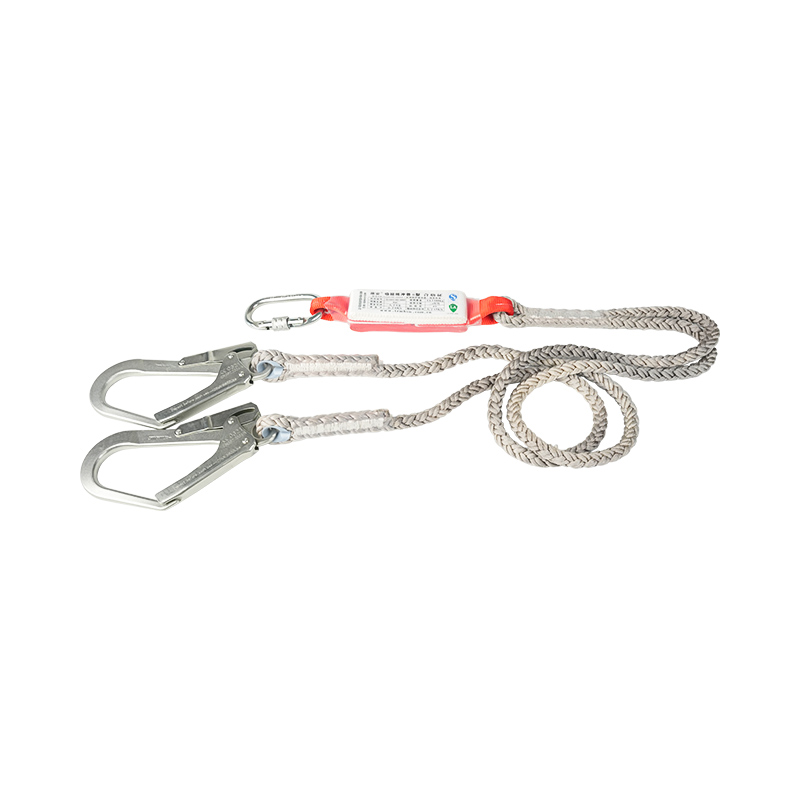
Select an energy-absorbing lanyard when a fall could occur and the system must reduce forces on the body. These lanyards elongate during arrest, which reduces peak force but increases required clearance. In practical terms, you are “trading” extra stopping distance for reduced impact force.
Restraint keeps a worker from reaching a fall hazard. This is often the preferred approach when there is insufficient clearance for fall arrest or when the work environment has obstructions, equipment, or lower levels directly below the work area.
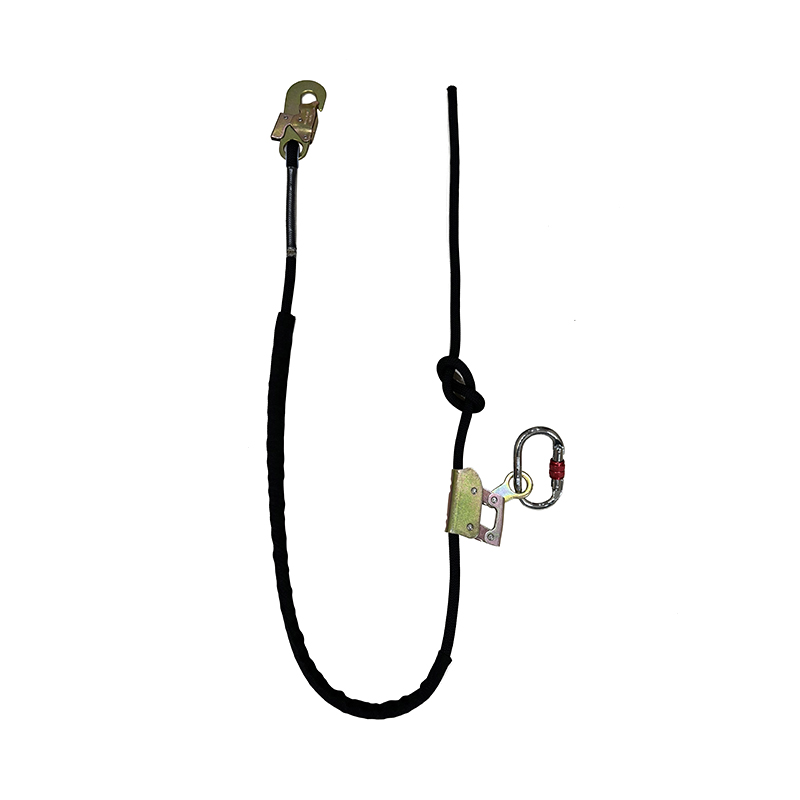
Positioning lanyards are designed to hold a worker in place (e.g., on poles or vertical structures) while allowing hands-free work. They are not automatically “fall arrest capable” unless explicitly rated/configured as part of a complete fall arrest system.
If the anchor is at the worker’s feet (common on steel erection and some industrial platforms), free-fall distance can increase dramatically. A widely cited example is that a standard 6 ft energy-absorbing lanyard connected at foot level can create a potential free fall of up to 12 ft, which changes both clearance and device suitability.
| Work scenario | Best-fit connection approach | What to verify before purchase | Common selection mistake |
|---|---|---|---|
| Overhead anchor; good clearance | Energy-absorbing fall arrest lanyard | Clearance for elongation; worker capacity rating | Ignoring required clearance below |
| Edge work; limited clearance | Restraint or alternative device selection | Can you physically prevent reaching the edge? | Choosing fall arrest when restraint is feasible |
| Hands-free positioning on structure | Work positioning lanyard (plus separate fall protection if needed) | Rated use; compatibility with harness attachment points | Using positioning as fall arrest without rating |
| Foot-level anchor; leading-edge risk | Leading-edge-rated solution; minimize free fall | Edge rating; cut resistance; swing-fall controls | Assuming “6 ft lanyard” means “6 ft fall” |
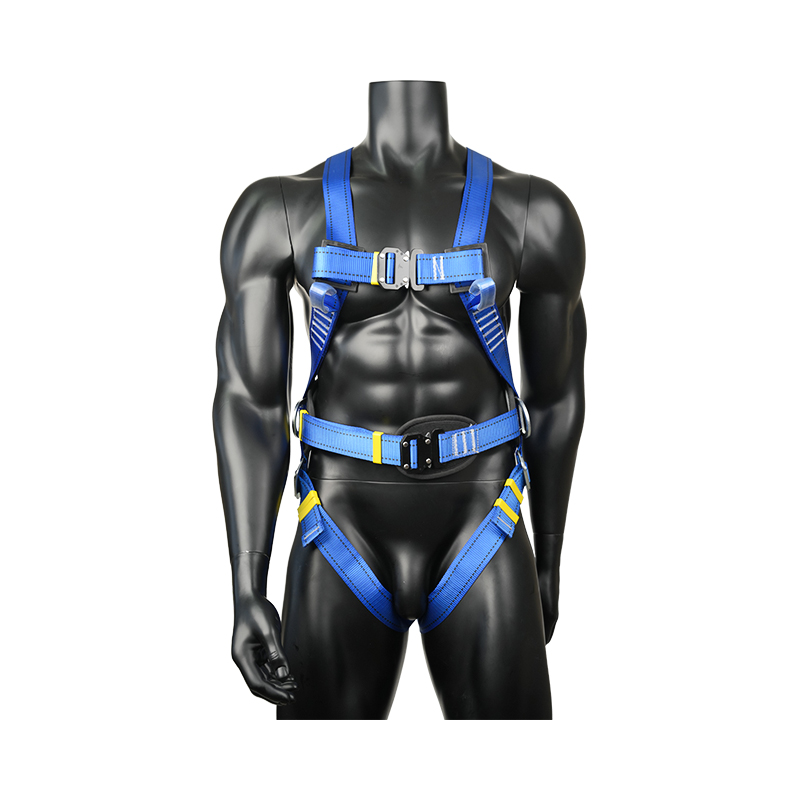
A safety lanyard must be compatible with the full system: harness, anchor connector, and anchorage. Selection errors often happen at the interfaces—especially connector fit and strength assumptions.
Use the fully dressed weight: person + clothing + tools + carried materials. If your site work routinely involves heavy tool belts, battery packs, or winter gear, confirm that the lanyard’s rated capacity covers the maximum equipped worker—not the average worker.
For personal fall arrest, anchorages are commonly required to support 5,000 lb (22.2 kN) per attached worker unless a qualified person designs an alternative with an appropriate safety factor. Also, key connecting components such as D-rings and snap hooks are commonly required to meet 5,000 lb tensile strength criteria (with proof-testing expectations for connectors in many programs).
The most practical selection step is a clearance calculation. If the clearance is not available, changing lanyard length alone rarely fixes the problem—you may need to change the anchor location, switch to restraint, or use a different connecting device.
Use this conservative approach: lanyard length + maximum deceleration/elongation + worker height allowance + safety factor. Many field references assume 3.5 ft for maximum deceleration distance and add a safety factor to account for fit, measurement uncertainty, and taller-than-average workers.
Estimated minimum clearance = 6.0 + 3.5 + 6.0 + 3.0 = 18.5 ft. If you do not have this clearance, do not “hope for the best”—change the method or equipment selection.
If an alternative connection method limits free fall to about 2 ft (often achievable with self-retracting devices in overhead applications), a common planning estimate becomes 2.0 + 3.5 + 6.0 + 3.0 = 14.5 ft. The key point: clearance is driven by free fall + deceleration, so device choice and anchor placement matter as much as lanyard length.
The right safety lanyard for your work environment must resist the dominant damage mechanism on site. UV, sharp edges, heat, welding spatter, chemicals, salt spray, and abrasive dust can degrade webbing and stitching long before the lanyard “looks” unsafe at a glance.
If your crews work around grease, grit, and sharp steel (fabrication yards, utilities, shipyards), it is often more reliable to use a solution designed for harsh contamination rather than assuming standard webbing will remain intact throughout its service life.
Your work environment dictates how workers move: vertical climbing, horizontal travel, frequent repositioning, or staying in one spot. Lanyard configuration should minimize opportunities for slack (which increases free fall) and minimize the need to unhook.
Adjustable lanyards can reduce slack and help maintain better positioning. In practice, they are valuable where workers must frequently change position while staying close to the anchor (maintenance racks, elevated platforms, structural steel fit-out).
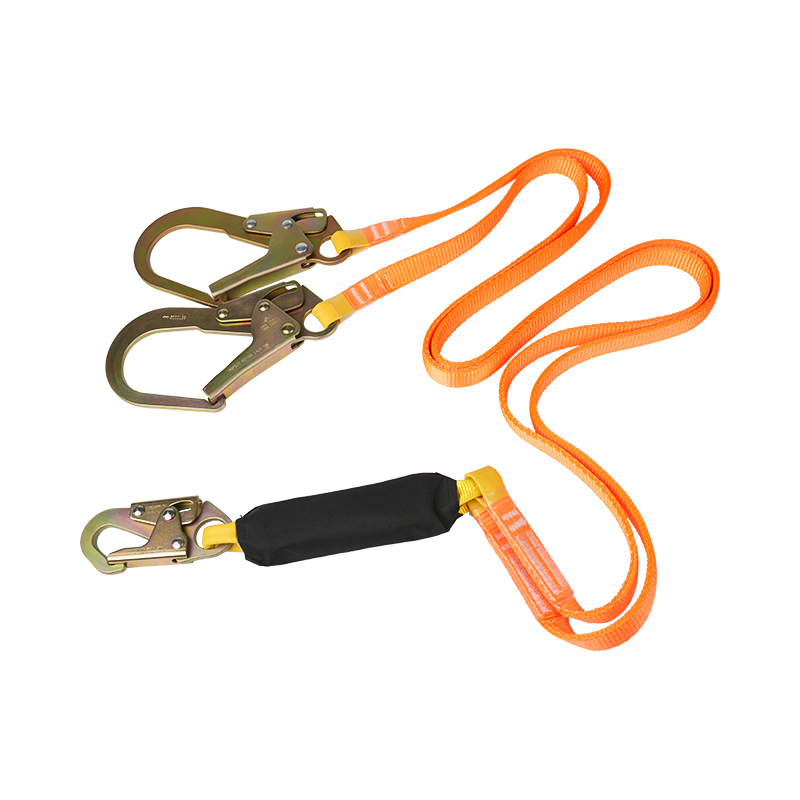
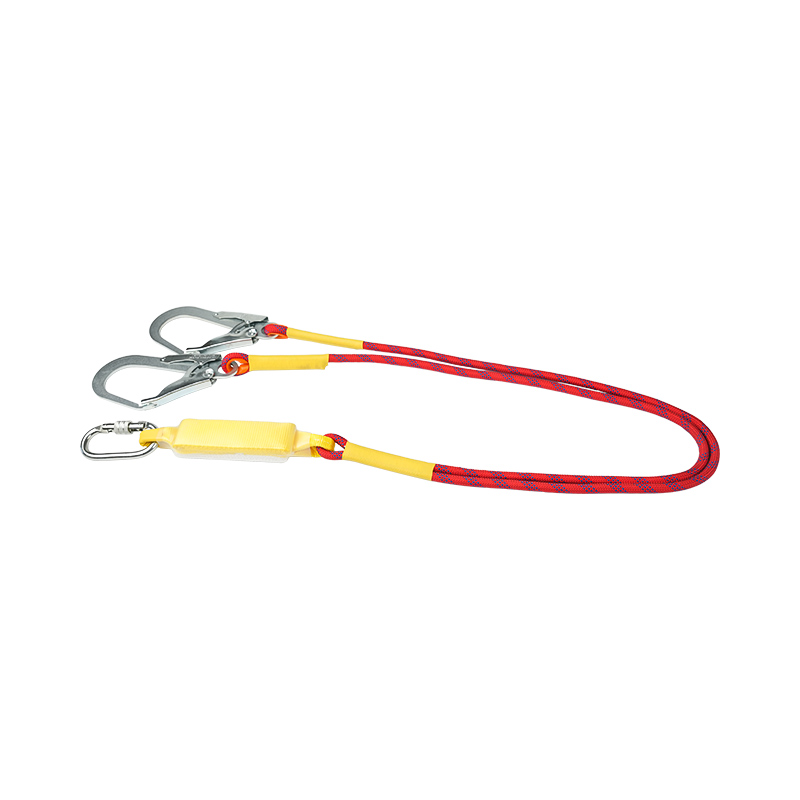
If the task requires moving between anchors (ironwork, tower work, scaffolding transitions), a twin-leg configuration supports continuous attachment (100% tie-off). Ensure the configuration is rated and used exactly as instructed—especially around sharp edges and where swing falls are possible.
Even the best lanyard choice fails if it is not inspected and removed from service when damaged. Your work environment should influence how often you inspect and how strictly you enforce retirement criteria.
If a lanyard has arrested a fall or shows signs of absorber deployment, remove it from service immediately and follow manufacturer guidance for replacement or evaluation. For high-consequence environments, treat uncertain condition as a replacement decision, not a debate.
Use the checklist below to translate a job hazard assessment into a purchase decision that holds up in the field.
Decision rule: If your clearance, anchorage, or edge exposure assumptions are uncertain, treat that as a selection failure and revise the plan before work begins.

San Ye Road, Si Xiang Sub-district, Hai Ling District, Tai Zhou City, Jiang Su Province, China

+86 151-5262-8620
Copyright @ Taizhou KA Protection Products Co., Ltd. All Rights Reserved

 English
 Español
 عربى
عربى
