Content
This practical article explains how to select, inspect, and train with fall arrest lanyards and safety harnesses. It focuses on field-ready procedures, step-by-step inspection checks, fall-clearance math, attachment and compatibility rules, and training drills that build safe habits.
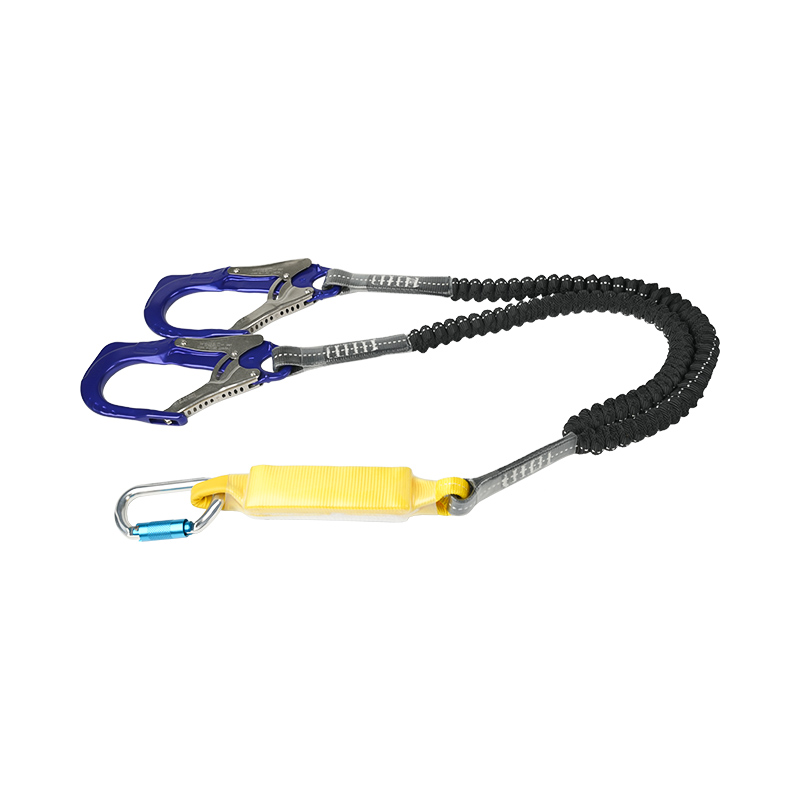
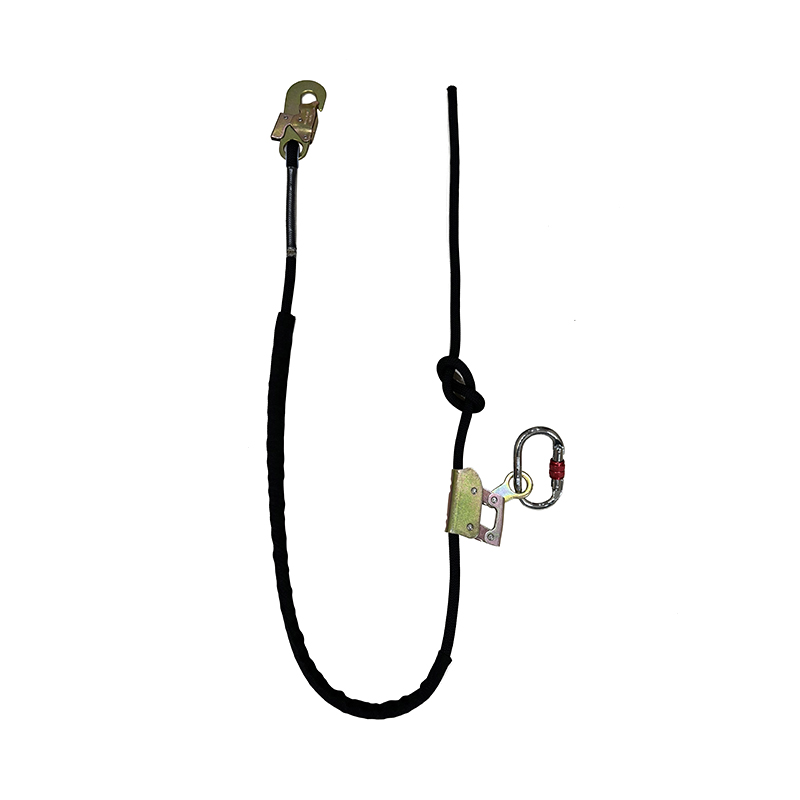
Choosing a lanyard is not just about length. Match the lanyard type to the job, anchor, and harness connection. Consider lanyard length and leg configuration, energy-absorbing capability, connector compatibility, rated strength, and intended work positioning.
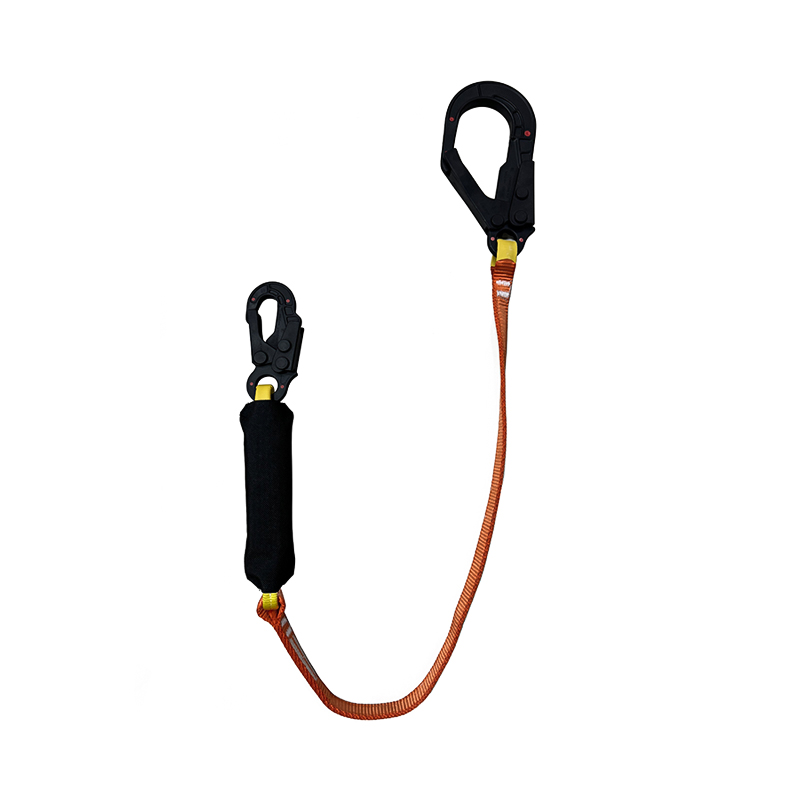
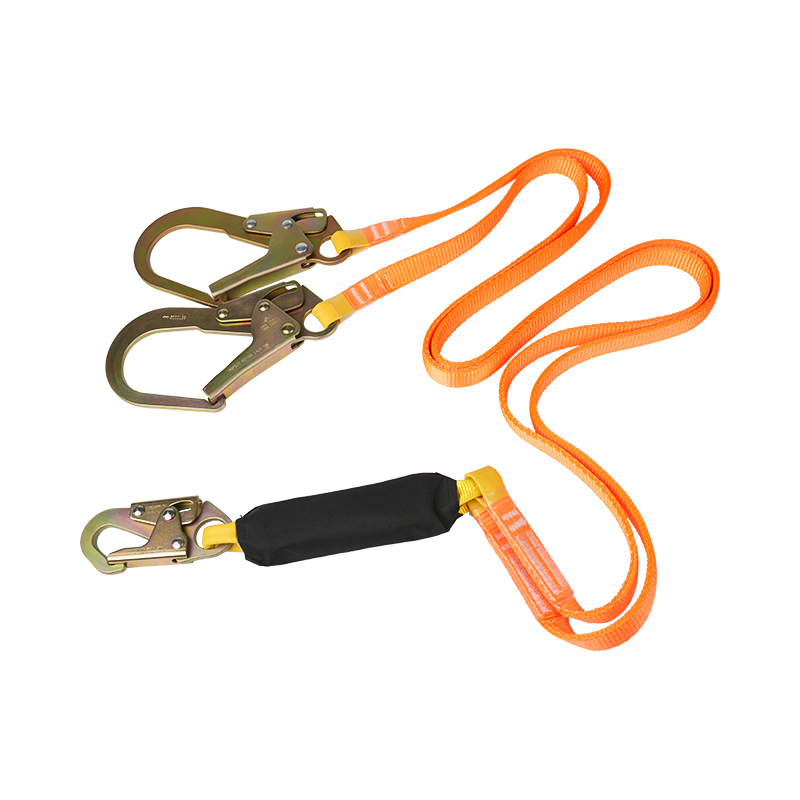
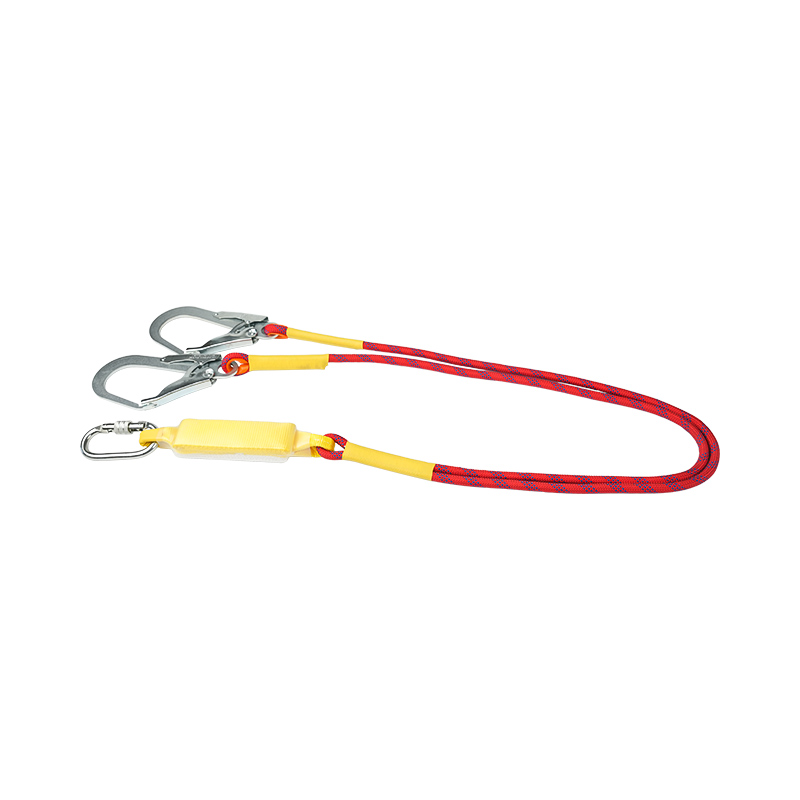
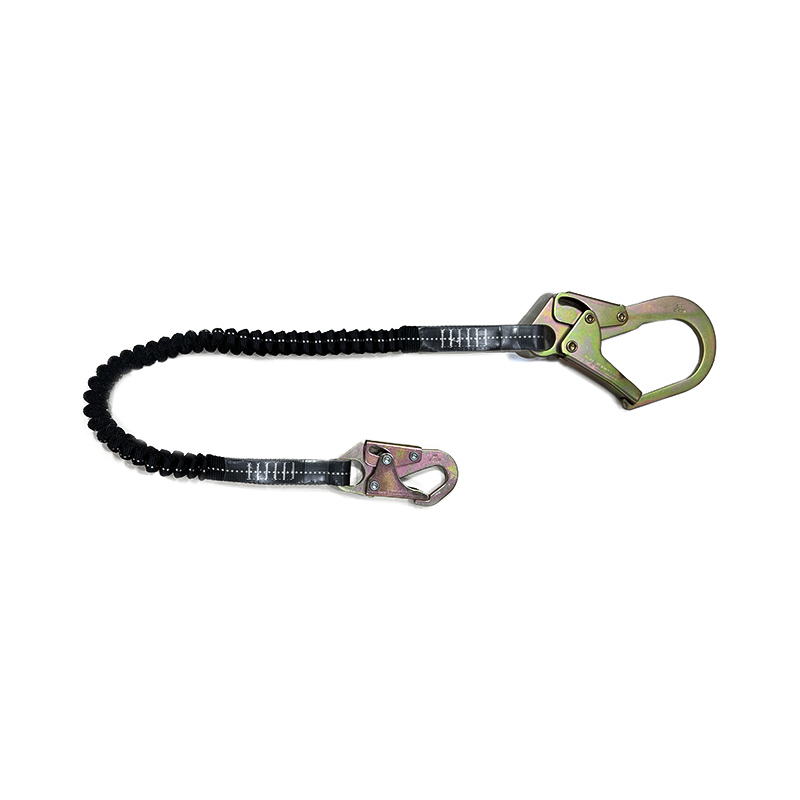
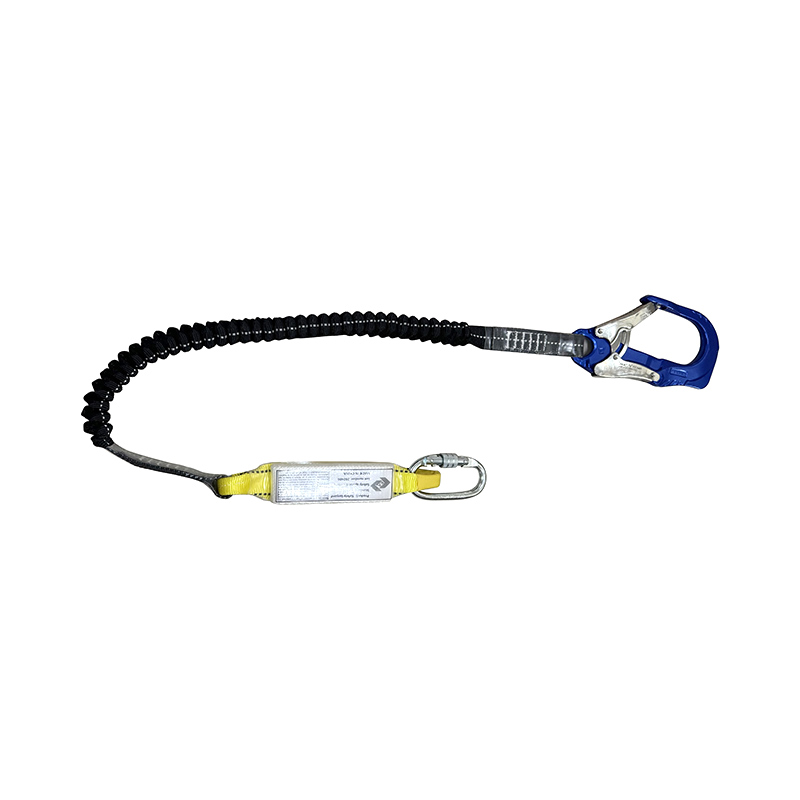
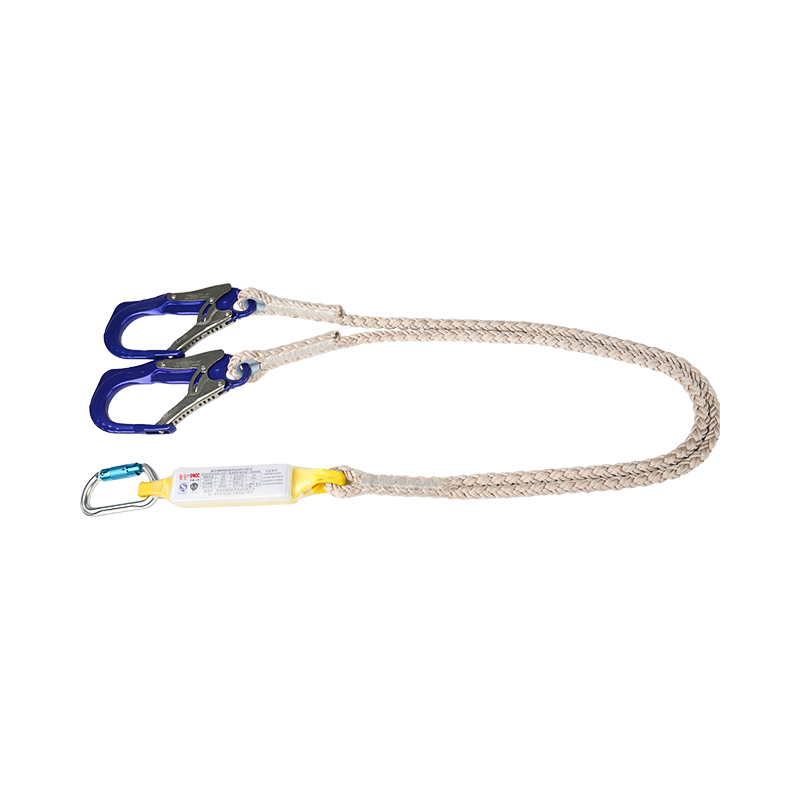
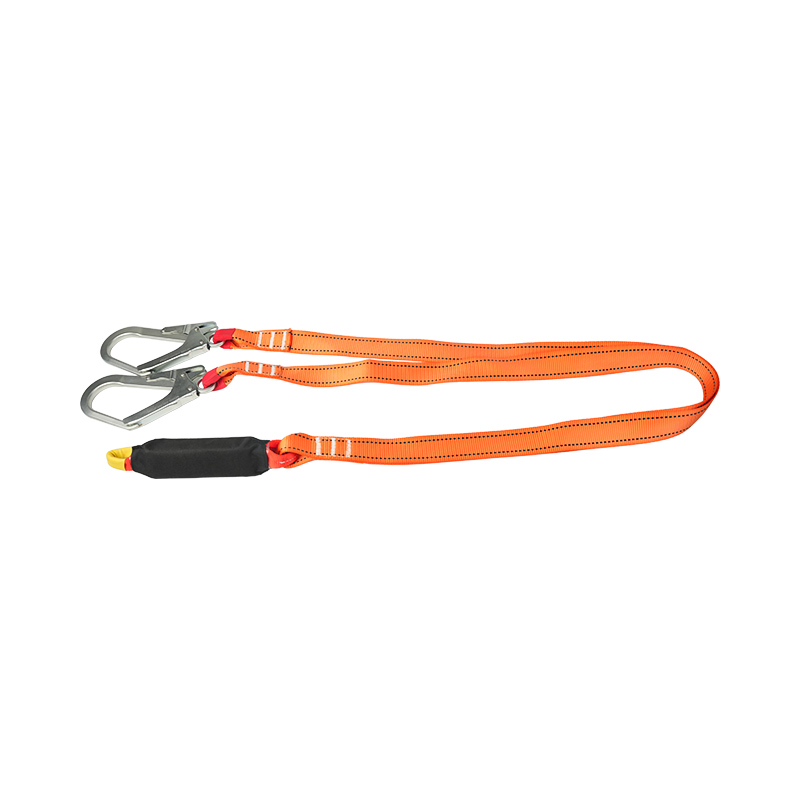
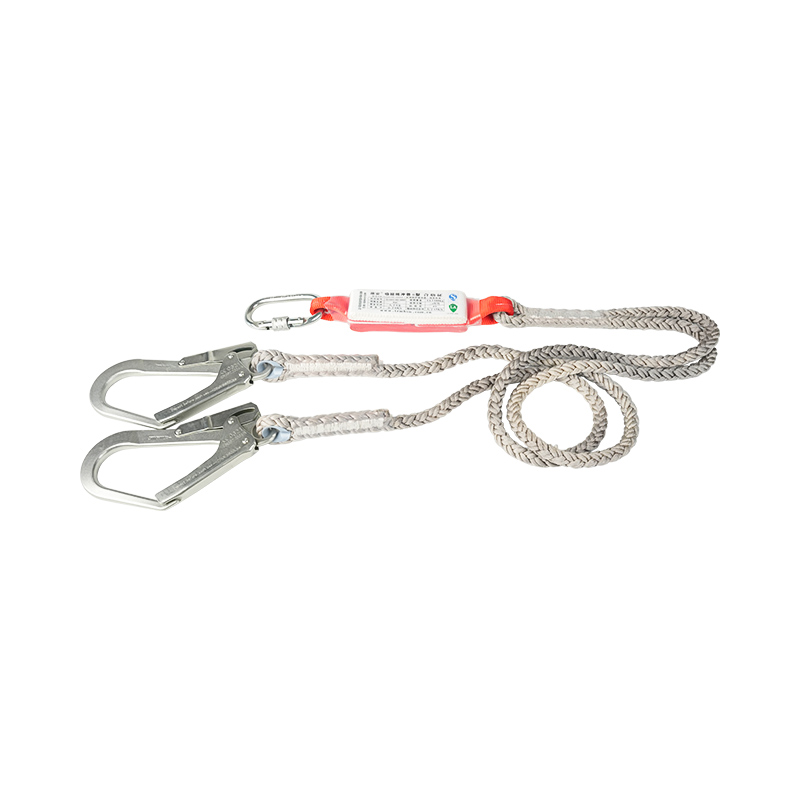
Common choices: single-leg vs. double-leg (Y) lanyards, self-retracting lifelines (SRLs), and shock-absorbing web lanyards. Use a double-leg for tasks that require moving between anchors without detaching, SRLs where fall clearance is limited, and shock absorbers for fixed-length systems where SRLs are not practicable.
Pick a length that minimizes free-fall potential while allowing necessary mobility. Energy-absorbing lanyards increase stopping distance but greatly reduce arrest forces. Verify manufacturer-rated capacity (usually 310–360 kg / 660–790 lb user + tools) and ensure connectors meet required ratings.
Inspect lanyards and harnesses before every use and record findings. Look for mechanical damage, stitching failure, corrosion, and connector performance. Below is a concise inspection checklist you can use on-site.
| Item | What to look for | Action if fail |
| Webbing & stitching | Cuts, abrasion, burns, chemical staining, pulled or cut stitches | Remove from service; tag and quarantine |
| Connectors (hooks, carabiners) | Deformation, cracks, gate spring failure, corrosion | Replace connector; inspect mating hardware |
| Energy absorber (if fitted) | Deployment, cuts, moisture or contamination | Replace entire lanyard or absorber unit |
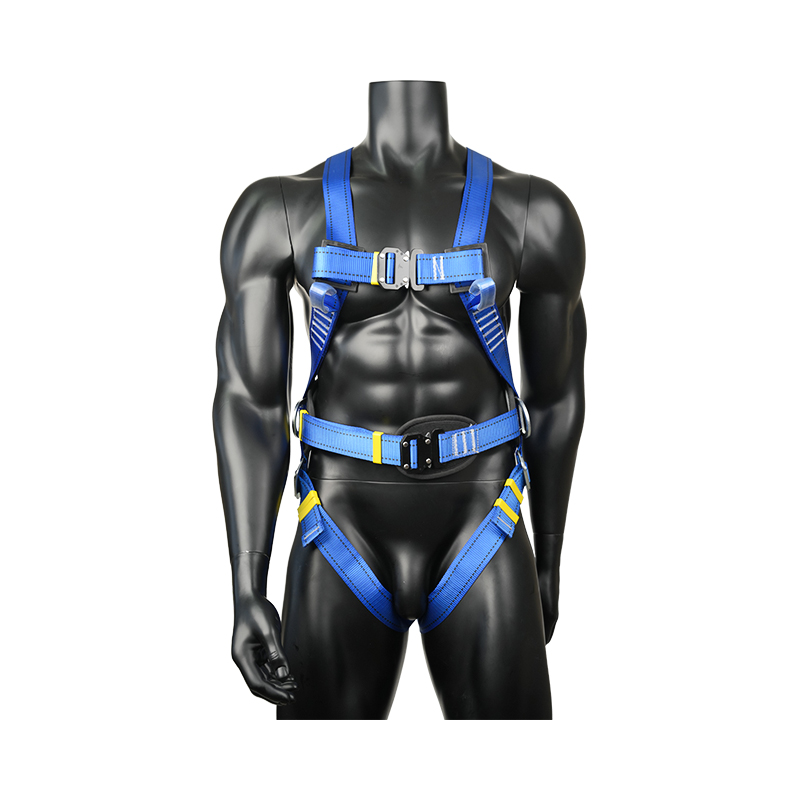
| Harness D-rings & web attachment points | Corrosion, elongation, loose stitching at attachment points | Remove harness from service; document defect |
Connector geometry matters. Ensure snap hooks/carabiners are compatible with harness D-rings and anchor hardware to avoid roll-out or improper loading. Use locking connectors where hands-free attachment is required or exposure to cross-loading is possible.
Before work begins, calculate fall clearance so the worker will not hit lower levels after arrest. The required clearance equals the sum of (1) free-fall distance, (2) deceleration distance (energy absorber), (3) D-ring shift and harness stretch, (4) worker height, and (5) safety margin. Below is a worked example in imperial units.
Assume: lanyard length (possible free fall) = 6.0 ft; energy absorber deceleration = 3.5 ft; D-ring shift/harness stretch = 1.0 ft; worker height (to feet) = 5.5 ft; safety margin = 3.0 ft. Add them step by step:
6.0 + 3.5 = 9.5 ft.
9.5 + 1.0 = 10.5 ft.
10.5 + 5.5 = 16.0 ft.
16.0 + 3.0 = 19.0 ft required minimum clearance.
So for this setup you must have at least 19.0 ft below the anchorage point to safely arrest a fall. If clearance is less, use an SRL or change the anchorage location to reduce free-fall.
Effective training combines classroom instruction with hands-on skill checks. Training should be scenario-driven, focused on inspection, donning, correct attachment, fall-clearance calculation, and rescue simulation. Record measurable outcomes for each trainee.
Every job must have a rescue plan before work begins. A suspended worker can develop suspension trauma within minutes — rapid, practiced rescue is essential. Identify rescuers, equipment (winches, SRLs with rescue capability, retrieval systems), and procedures for both self-rescue and assisted rescue.
Maintain inspection logs, repair records, and service dates. Many manufacturers set service-life limits; where none are provided, use condition-based retirement. Tag equipment with next inspection date and remove clearly beyond-service-life items from use.
This article provides field-ready actions you can implement today: a practical inspection table, explicit compatibility rules, arithmetic for clearance checks, and training drill templates. Adapt the checklists to your equipment manufacturer guidance and local regulations.

San Ye Road, Si Xiang Sub-district, Hai Ling District, Tai Zhou City, Jiang Su Province, China

+86 151-5262-8620
Copyright @ Taizhou KA Protection Products Co., Ltd. All Rights Reserved

 English
 Español
 عربى
عربى
