Content
Before every use perform a thorough visual and tactile inspection of both the harness and the lanyard. A one-minute visual glance is not sufficient — you must check stitching, webbing, labels, hardware and connectors. Never use equipment with cuts, chemical stains, frayed stitching, bent hardware, distorted D-rings, or missing legible manufacturer labels and inspection dates.
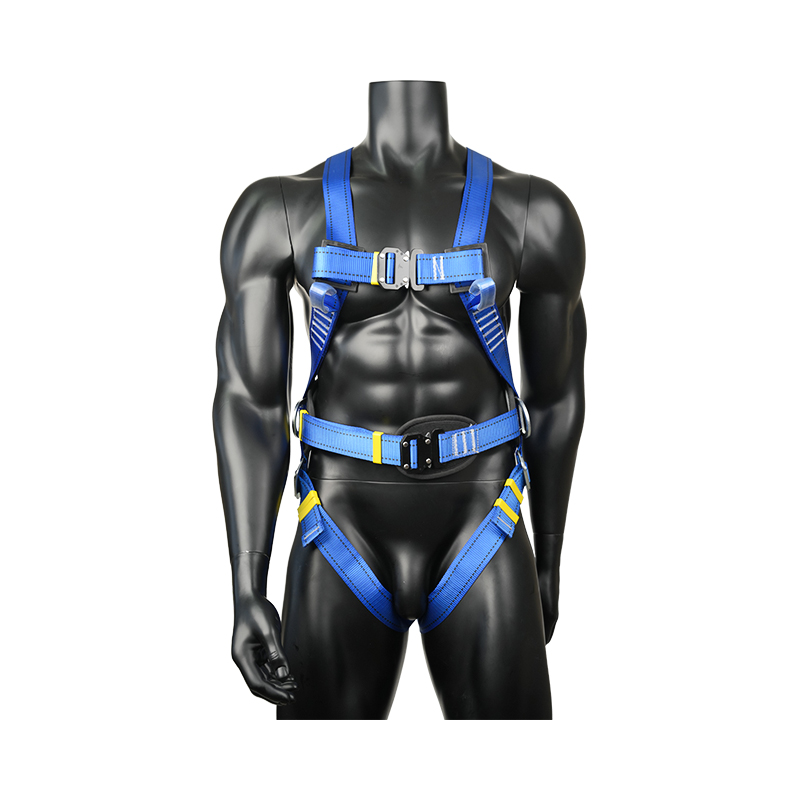
Use a full-body harness rated for fall arrest (not just a positioning belt) and don it in a controlled, level area. Follow a consistent sequence so the harness fits predictably every time. The following steps describe a typical proper method; always follow the harness manufacturer’s user manual first.
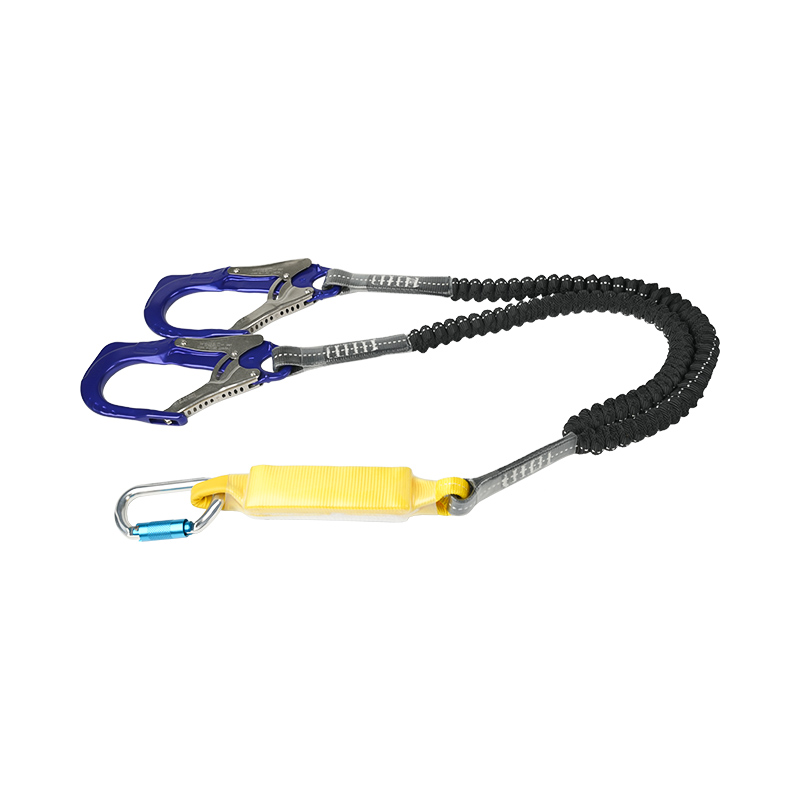
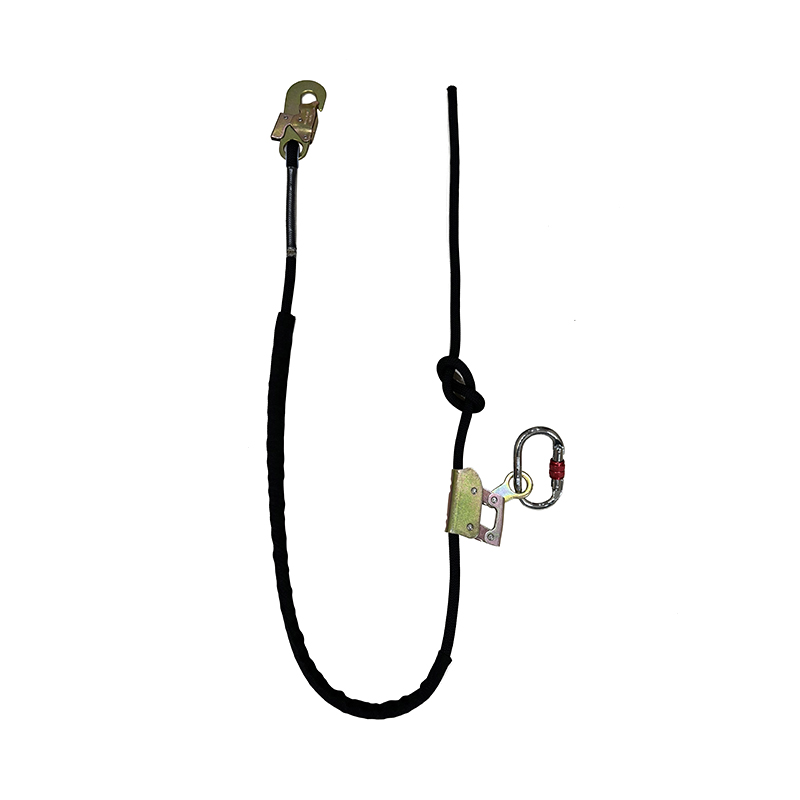
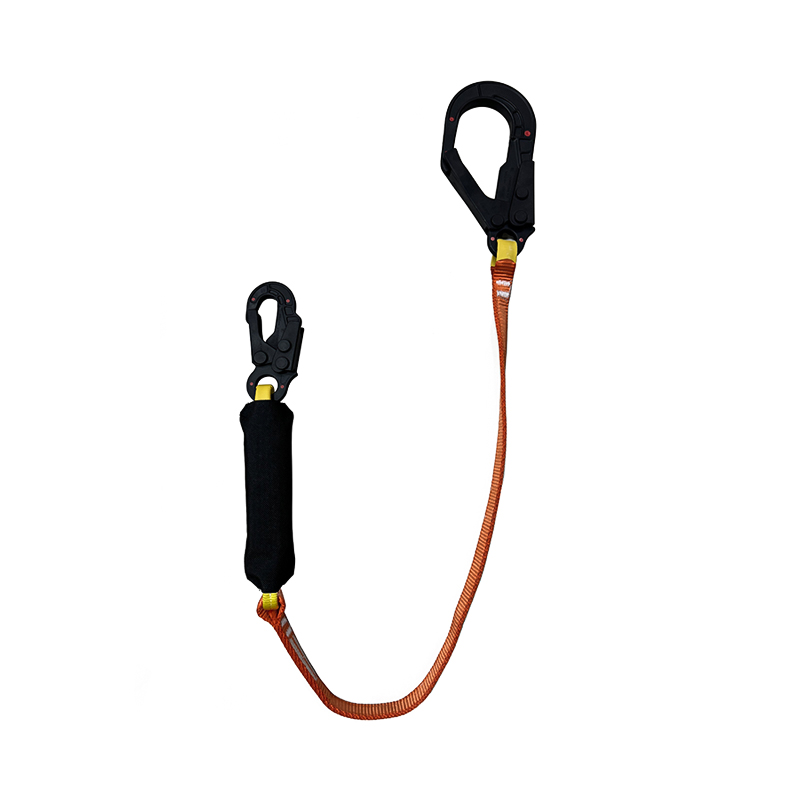
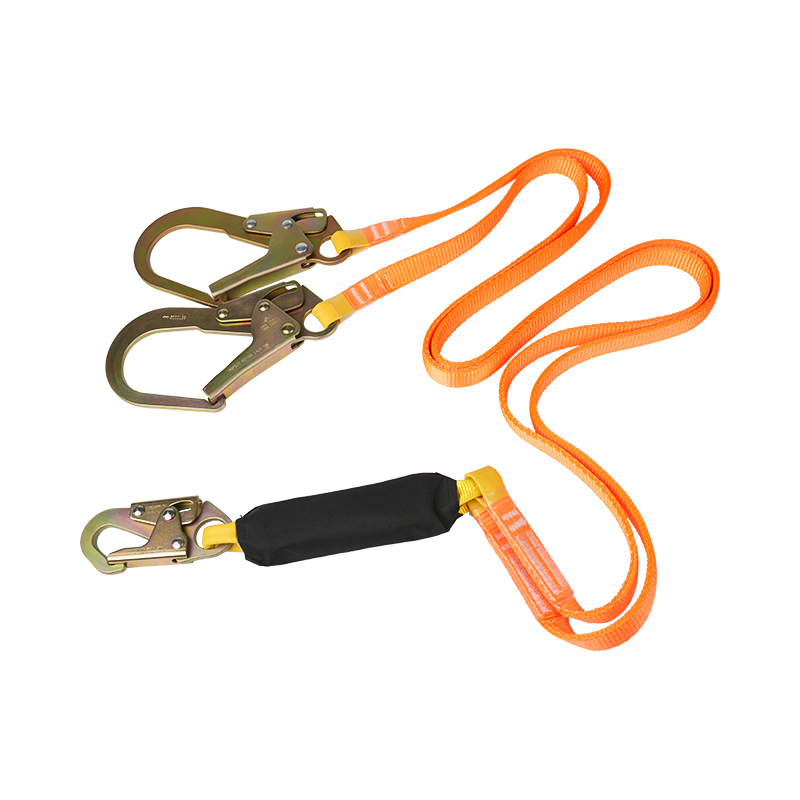
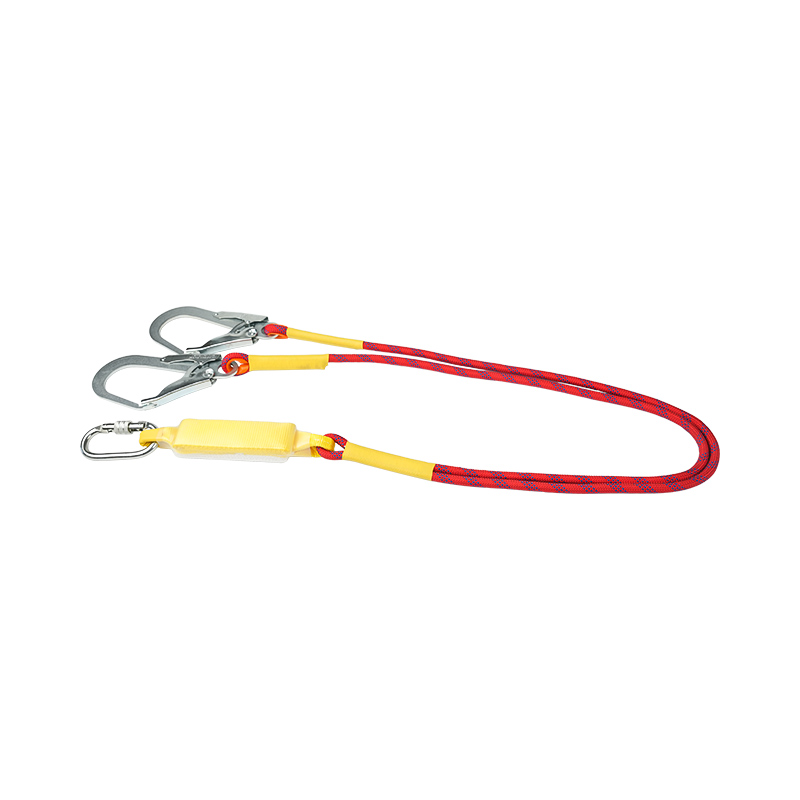
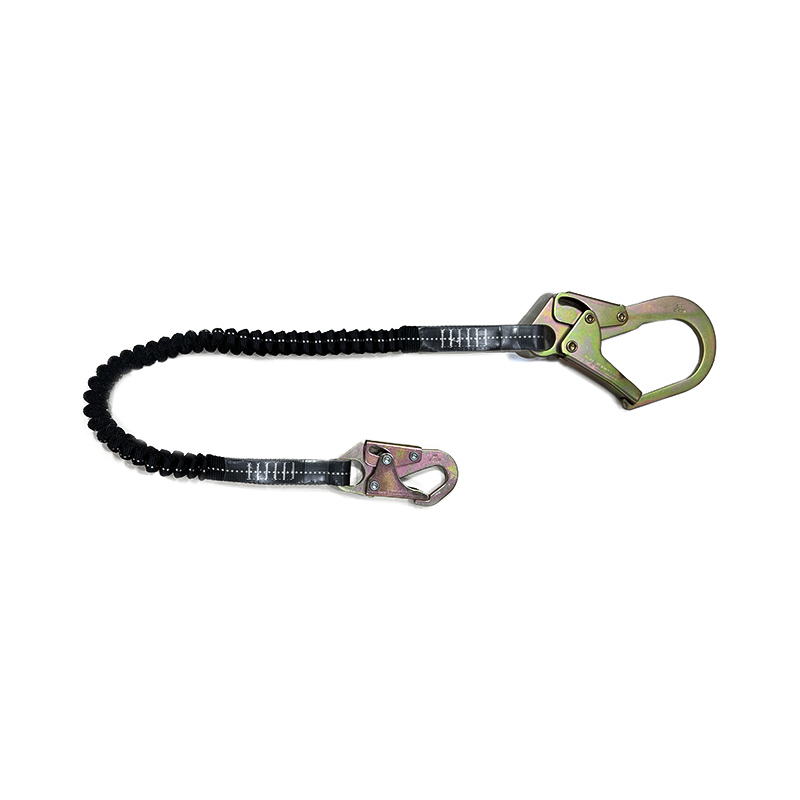
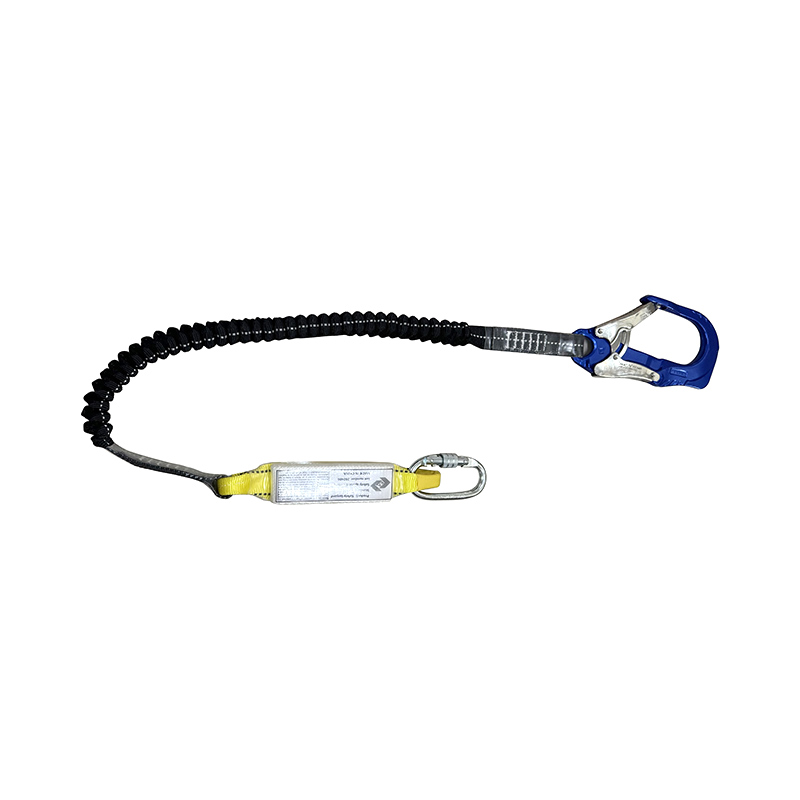
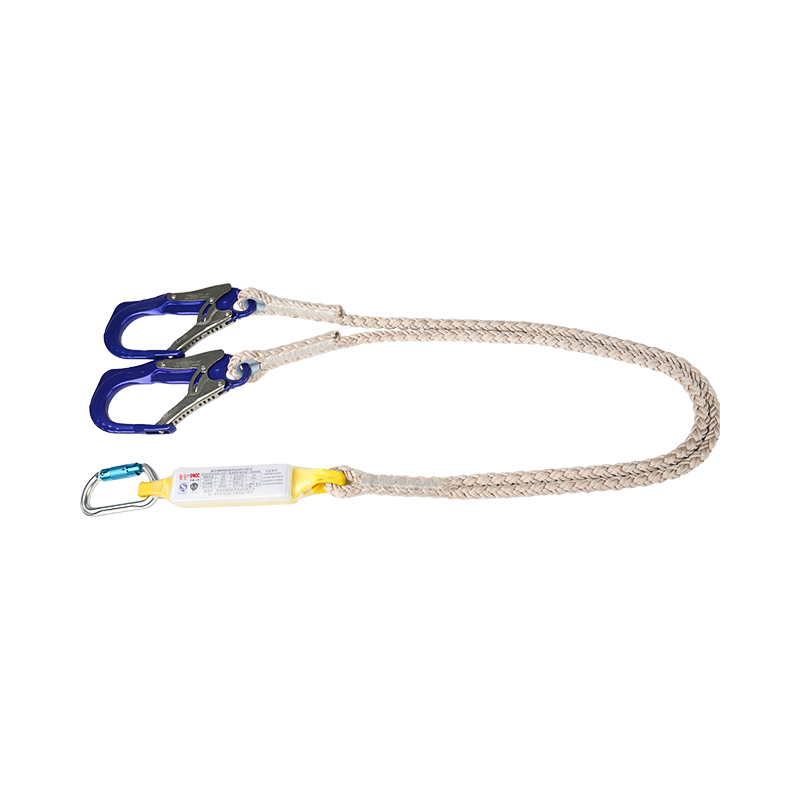
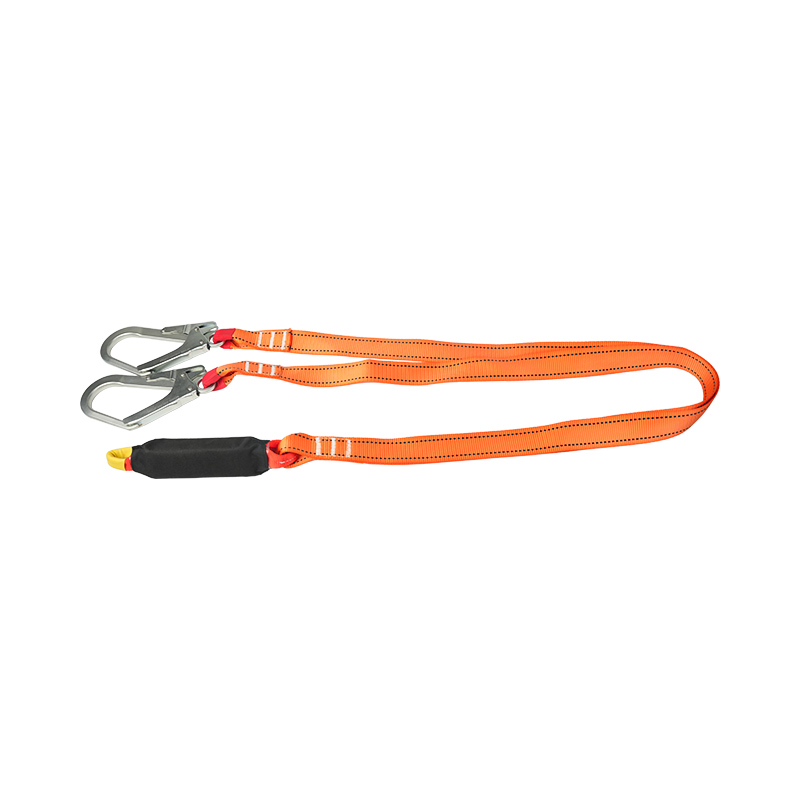
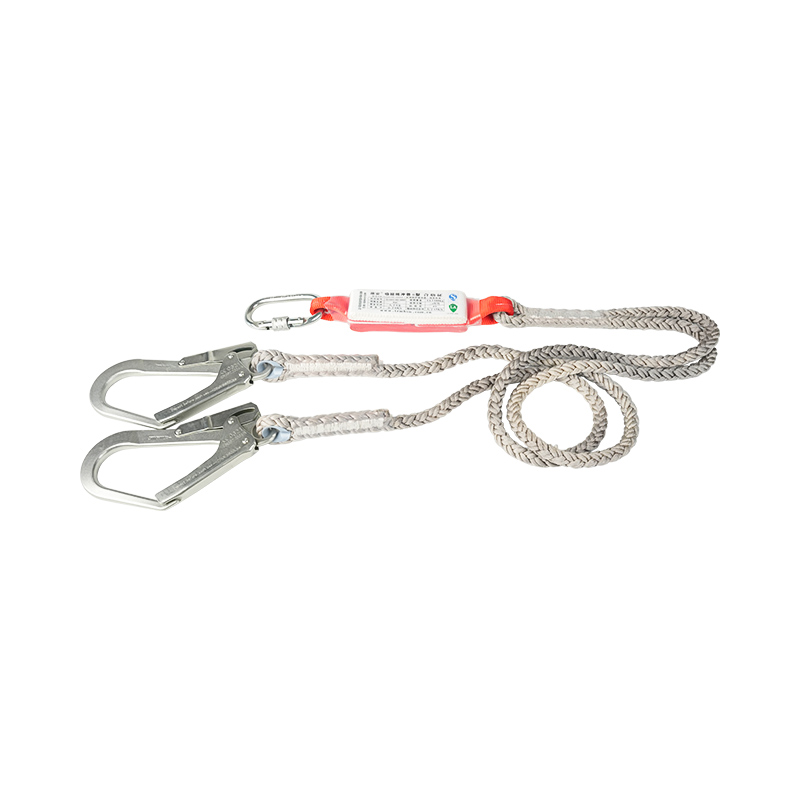
Choose a lanyard that matches the system type (fall arrest, restraint, or positioning) and has compatible connectors. Lanyards are sold as shock-absorbing (with energy absorbers), non-energy absorbing (for positioning), or self-retracting lifelines (SRLs). Use only connectors with matching gate strength and locking type.
Ensure carabiners/snap hooks are rated for fall arrest (usually stamped with strength ratings such as 22 kN) and are compatible with the harness D-ring geometry to avoid side loading. Use double-locking gates where possible.
Attachment must be to an anchor point rated to support fall arrest loads (commonly 5,000 lb / 22.2 kN in the U.S. for single user anchors) or to a system designed by a qualified person. Calculate fall clearance before use to ensure the worker will not strike a lower level.
Always maintain 100% tie-off when working at height where a fall is possible — at least one secure connection point should be maintained while moving between anchors. Attach lanyards before exposing yourself to a fall hazard and avoid shock loading by keeping attachment geometry as close to overhead as possible.
A written rescue plan is required whenever fall arrest systems are used — determine how to retrieve or lower a suspended worker quickly and safely. Time suspended in a harness can cause suspension trauma; rapid rescue within minutes is essential.
List responsible rescuers, communication methods, equipment needed (rescue tripod, SRL with retrieval function, rescue lanyard), training frequency, and step-by-step actions. Train workers and rescuers in simulated rescues at least annually.
Proper maintenance extends service life and preserves strength. Clean webbing with mild soap and water, rinse thoroughly, and air dry away from direct heat or sunlight. Do not use bleach, solvents, or machine-dry. Record inspections and retire equipment when it fails inspection criteria or reaches manufacturer service life.
Many incidents are preventable if users understand common errors: incorrect harness fit, improper anchor selection, attaching to non-rated components, allowing excess slack, and skipping inspections. Consistent training, checklists, and supervision address these issues.
| Harness webbing intact | Yes / No |
| Stitching secure | Yes / No |
| Dorsal D-ring present & straight | Yes / No |
| Lanyard energy absorber intact | Yes / No |
| Anchor point rated & positioned overhead | Yes / No |
| Rescue plan in place | Yes / No |
Proper use of harnesses and lanyards is a mix of correct equipment selection, disciplined pre-use checks, correct donning and secure attachment, accurate fall clearance calculations and an actionable rescue plan. Employers should provide hands-on training, documented competency checks and refresher sessions at least annually or whenever procedures change.

San Ye Road, Si Xiang Sub-district, Hai Ling District, Tai Zhou City, Jiang Su Province, China

+86 151-5262-8620
Copyright @ Taizhou KA Protection Products Co., Ltd. All Rights Reserved

 English
 Español
 عربى
عربى
