Content
Most resellers who decide to launch a branded safety harness spend weeks deliberating over supplier quotes and almost no time thinking about what the product will actually look like wearing their name. That imbalance matters, because buyers in fall protection are not just evaluating a harness—they are evaluating whether they can trust the brand printed on it. A cohesive branded product, from the logo heat transfer on the webbing to the certification label inside the packaging box, communicates exactly that kind of trustworthiness before a single conversation takes place.
This guide walks through the complete launch sequence: from preparing your brand assets and selecting the right harness base, through choosing a printing method and meeting certification requirements, to packaging that satisfies both compliance auditors and purchasing managers.
Branding a safety harness is not the same as branding a t-shirt. The product carries life-safety obligations, and every element—webbing color, hardware finish, label placement, packaging language—is visible to workers, safety officers, and compliance inspectors simultaneously. A logo placed without planning for how it interacts with the rest of the product's visual system looks exactly as improvised as it is.
A genuinely branded harness has four visual touchpoints working together: the webbing color system (which can also serve as a safety identification tool across multiple years of procurement), the logo application on the body of the harness, the woven or printed label carrying compliance and inspection data, and the retail or wholesale packaging. Treat each of these as part of one coherent design brief, not as separate decisions made at different stages of the factory conversation.
Distributors who build branded lines this way consistently report that reorders arrive faster and with fewer price negotiations. Buyers who can immediately identify their equipment—by color, by logo, by the recognizable packaging it arrived in—treat the product as infrastructure rather than a commodity, and they price it accordingly.
Before you request a sample or discuss minimum order quantities, two brand assets need to exist in a usable form: your logo file and your color specification.
Logo files sent to manufacturers for printing must be in vector format—Adobe Illustrator (.AI) or encapsulated PostScript (.EPS). A high-resolution JPEG is acceptable for heat transfer applications at a minimum of 300 dpi, but vector formats give the factory flexibility to scale, separate colors, and adapt the artwork to different application methods without quality loss. If you are working from a logo that only exists as a low-resolution PNG, have it redrawn in vector format before factory conversations begin. Discovering this problem after sampling adds weeks to your timeline.
For color specification, use Pantone Matching System (PMS) numbers rather than RGB or CMYK values. Screen rendering, inkjet printing, and webbing dyeing are all different physical processes that interpret the same RGB value differently. PMS codes give the factory a physical color standard to match against, which matters most for webbing dyeing, where color consistency across production batches directly affects the visual coherence of your branded inventory over time.
Your primary brand color should drive your webbing color choice. If your brand uses a distinctive orange, specifying an orange webbing in that PMS shade turns every harness into an ambient brand impression—visible at a distance on a construction site and immediately identifiable in a mixed equipment room.
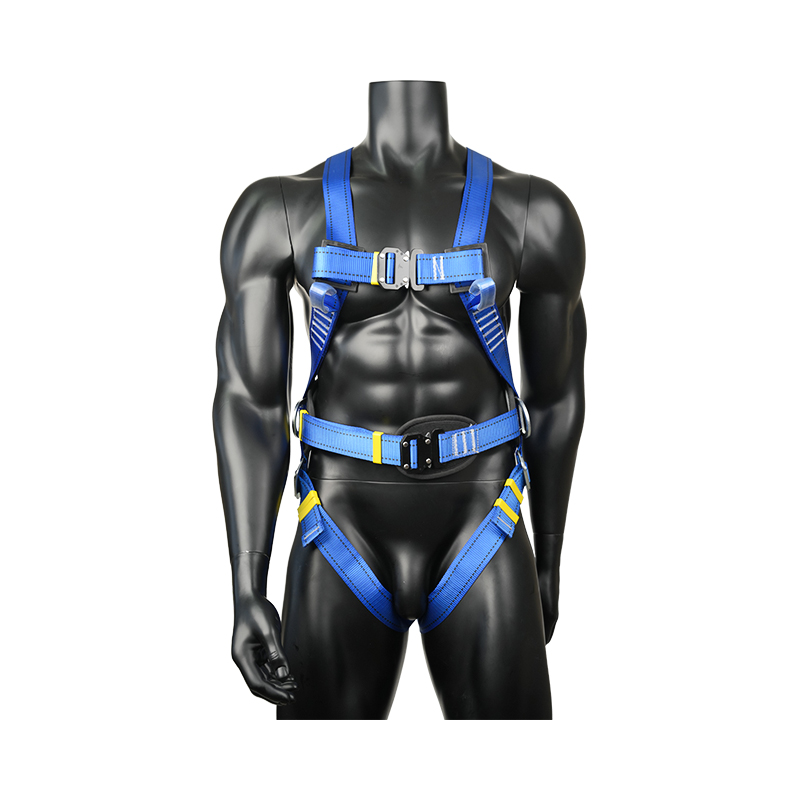
The harness you select as your branded base determines the ceiling of your margin and the breadth of your addressable market. Launching with a single generalist model limits both. A structured product architecture—at minimum an entry compliance tier and a premium performance tier—allows you to capture procurement from budget-constrained buyers while maintaining a product that can command genuine price premiums from buyers with more sophisticated requirements.
When reviewing full-body and specialized safety harness options as your base, evaluate the following specification dimensions for customization potential:
Vertical market differentiation expands margin more reliably than adding SKUs. A dielectric safety harness for electrical applications with insulated hardware rated for high-voltage environments commands a different price conversation entirely than a general construction harness, and it sells through a different distributor channel with less price pressure. Explore the full custom safety harness OEM program to understand what specification depth is achievable at different order volumes.
Four methods are used to apply brand graphics to safety harnesses, and each makes a different trade-off between cost, durability, visual impact, and logo complexity.
| Method | Best For | Color Limit | Durability | Relative Cost |
|---|---|---|---|---|
| Heat Transfer | Full-color logos, photographic detail | Unlimited | Moderate (surface wear over time) | Low–Medium |
| Screen Print | Bold, simple graphics; large logo areas | 1–4 colors | Good on flat webbing surfaces | Low |
| Embroidery | Premium positioning; logos up to 4 colors | 1–8 thread colors | Excellent; survives heavy wash cycles | Medium–High |
| Rubber Patch | 3D brand marks; high-end positioning | Molded shape / 1–3 colors | Excellent; UV and abrasion resistant | High |
Heat transfer is the most common entry point for branded harnesses because it handles full-color artwork without screen setup costs and can be applied to finished webbing without structural modification. The limitation is longevity on high-abrasion zones: a logo placed on the chest strap of a harness used daily in construction will show wear faster than the same application on a back pad. Screen printing handles this better on flat polyester webbing but constrains artwork to a limited color count.
Embroidery signals quality in a way that printed methods do not, which matters when the product is sold at a premium price point. A rubber patch—essentially a molded brand mark bonded to the harness—is the most durable and tactilely distinctive option, and it photographs well for marketing material. Use it as the signature element on your premium SKU.
A practical approach for a new branded line: specify heat transfer for the entry model and embroidery or rubber patch for the premium tier. This creates a visible quality signal that supports the price separation between tiers without requiring two entirely different harness designs.
No amount of packaging quality or logo design offsets a harness that cannot produce a certification document on demand. Fall protection is life-safety PPE, and procurement managers at responsible employers are required to verify that every harness on their sites carries valid third-party certification. Treat certification not as a bureaucratic hurdle but as the most credible claim your brand makes.
The minimum certification requirements vary by market:
The most efficient path for a new branded line is to work with an OEM manufacturer that has already completed type-examination testing on the base product designs you intend to use. In this scenario, your branding is applied to a certified design, and the label or marking change is documented—often without requiring a new type-examination. Confirm this explicitly during supplier qualification: ask for the current certificate number, the certifying body name, the exact product models covered, and the certificate expiry date. A generic ISO 9001 quality management certificate does not substitute for product-specific fall protection certification.
If you plan to sell across multiple markets, select an OEM partner whose certified product portfolio covers both ANSI and CE from the outset. Dual-certified products significantly simplify export logistics and allow you to serve international distributor opportunities without requalification costs. The custom PPE manufacturing services offered by experienced OEM suppliers should explicitly include certification support as part of the OEM package.
A harness removed from generic poly-bag packaging and placed in a branded retail box is not the same product in the buyer's mind, even if nothing else has changed. Packaging is the first brand impression in a distributor's warehouse and the last brand impression when a worker opens a new harness for the first time. Both moments are worth designing for.
Fall protection packaging carries mandatory information requirements that must be present regardless of design. These include: manufacturer name and address, product model and serial or batch number, applicable standard markings (ANSI, CE, etc.), maximum user weight rating, manufacture date and recommended service life, inspection interval instructions, and care and storage guidelines. These elements are non-negotiable and must be legible in the languages relevant to your target markets.
Within those constraints, the remaining design space is entirely yours. Key decisions:
For a first production run, consider a pilot packaging approach: print a limited quantity of packaging for market testing before committing to a full print run. Packaging artwork frequently requires adjustments after physical samples are reviewed, and printing 5,000 units of packaging with a font size that makes the inspection interval information difficult to read is a preventable cost.
A realistic branded harness launch timeline runs 12 to 20 weeks from first factory contact to product available for sale. The range depends on whether you are applying your brand to an existing certified design (faster) or specifying a custom construction (longer). Here is what the sequence typically looks like:
Brands that try to compress this timeline by skipping the pilot production run frequently discover that quality issues at scale are both more expensive and more brand-damaging than the time saved. The pilot run is not a formality—it is the point at which your brand reputation is either protected or exposed.
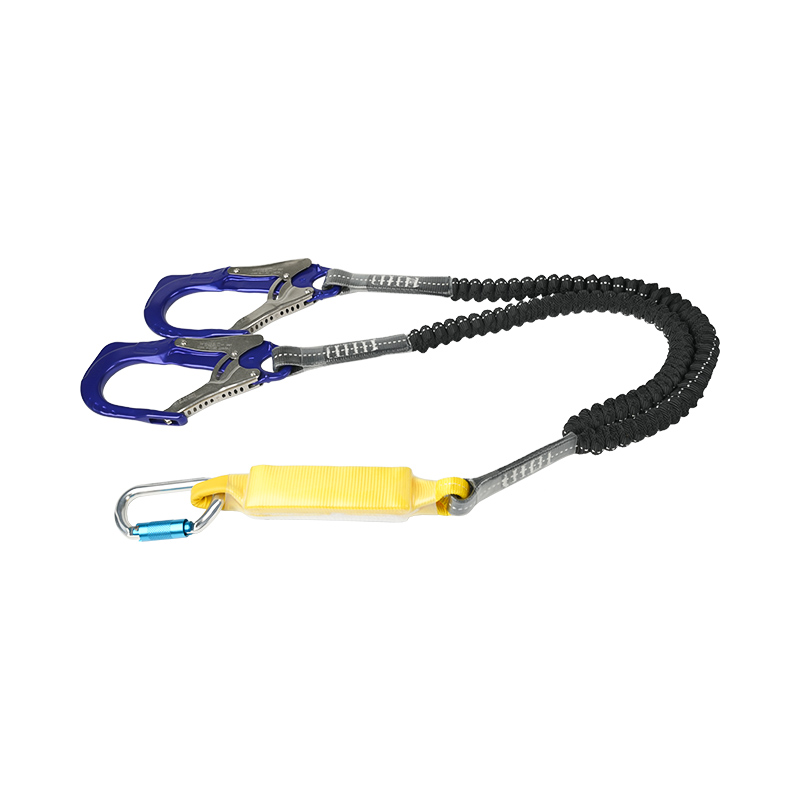
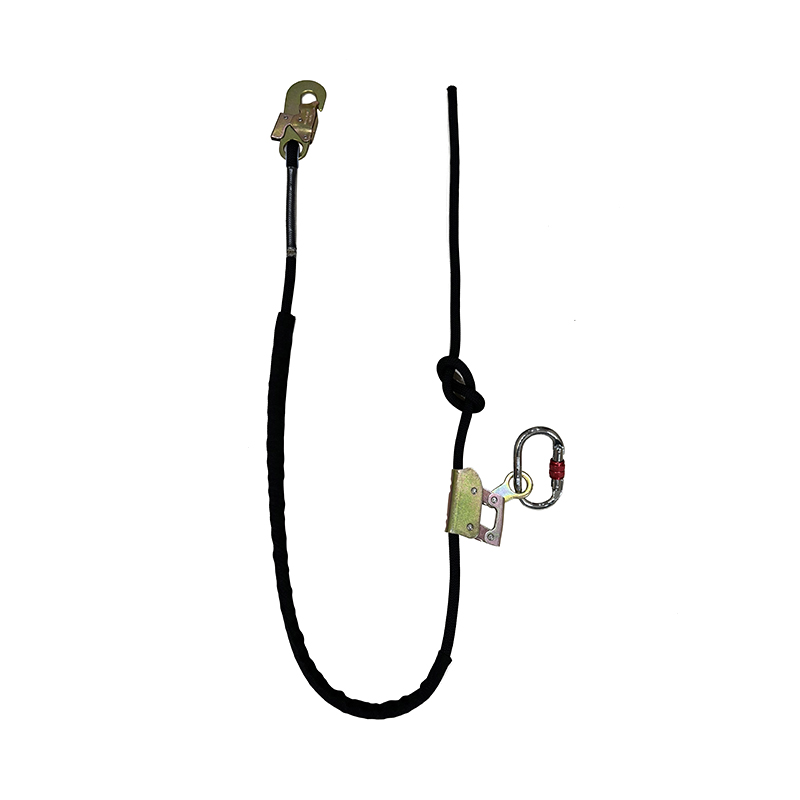
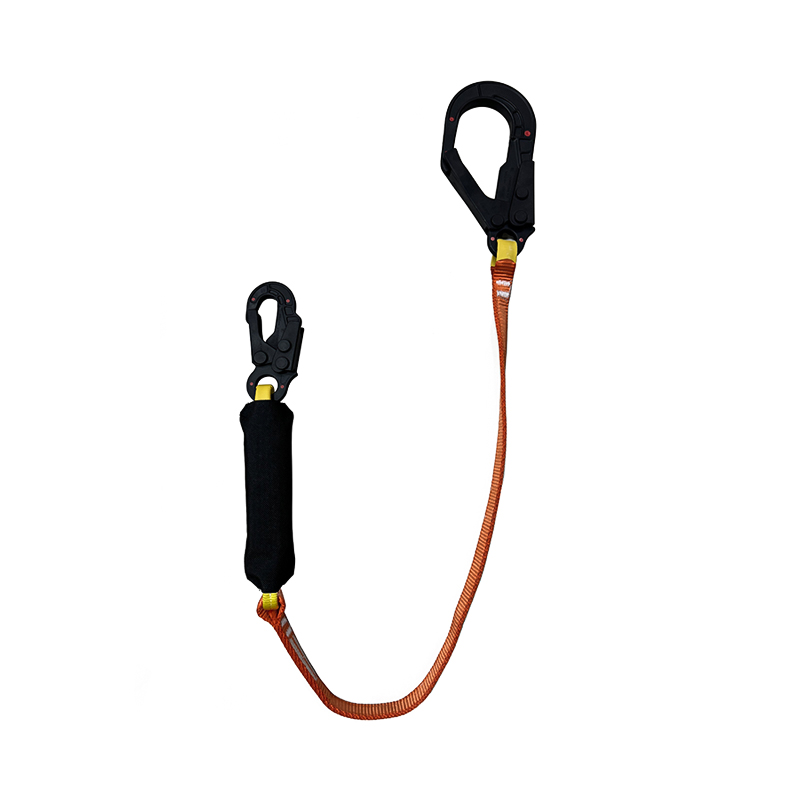
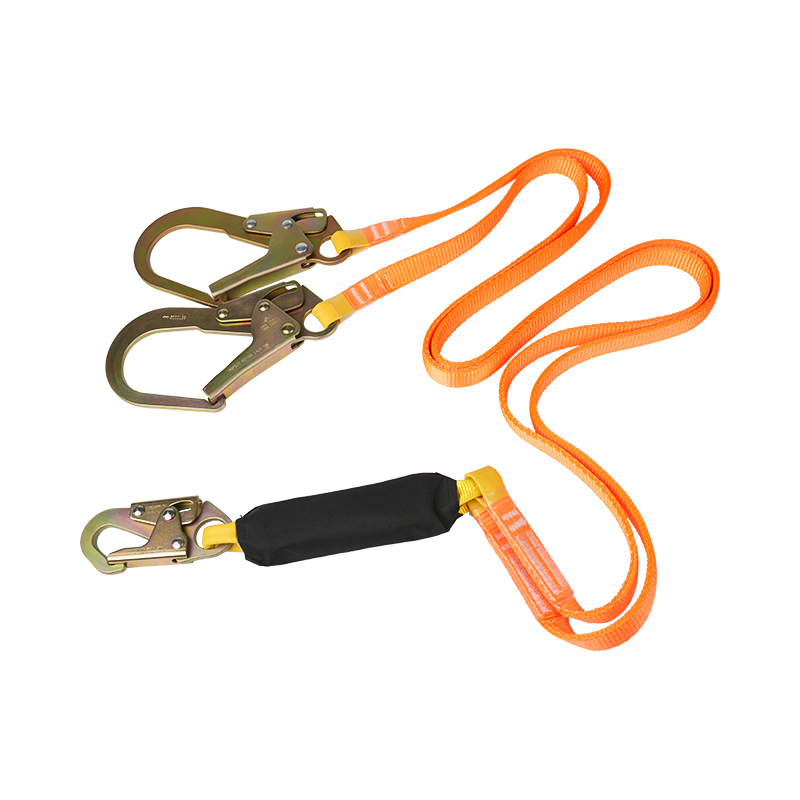
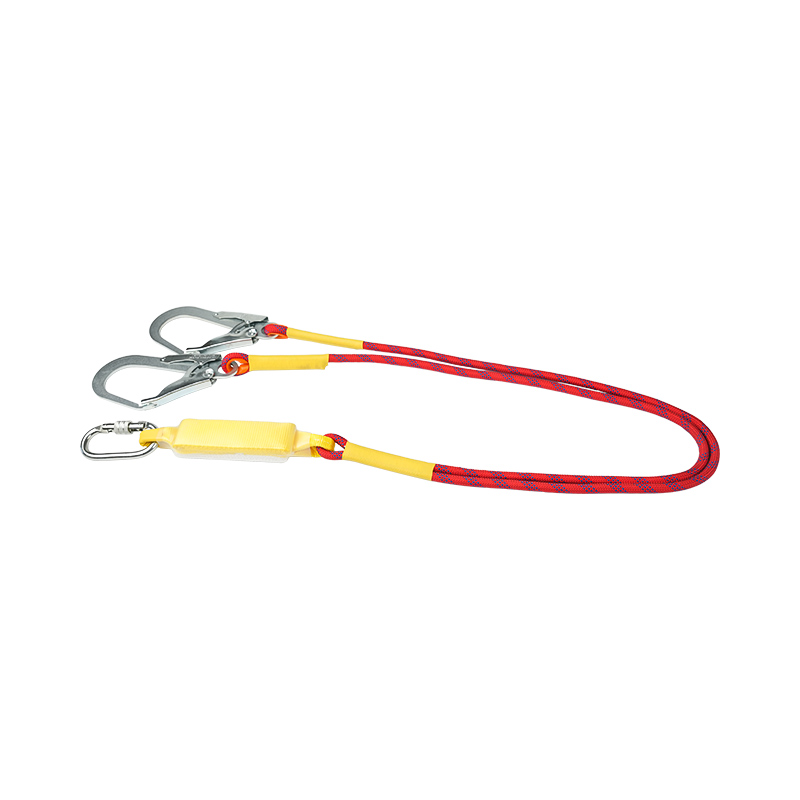
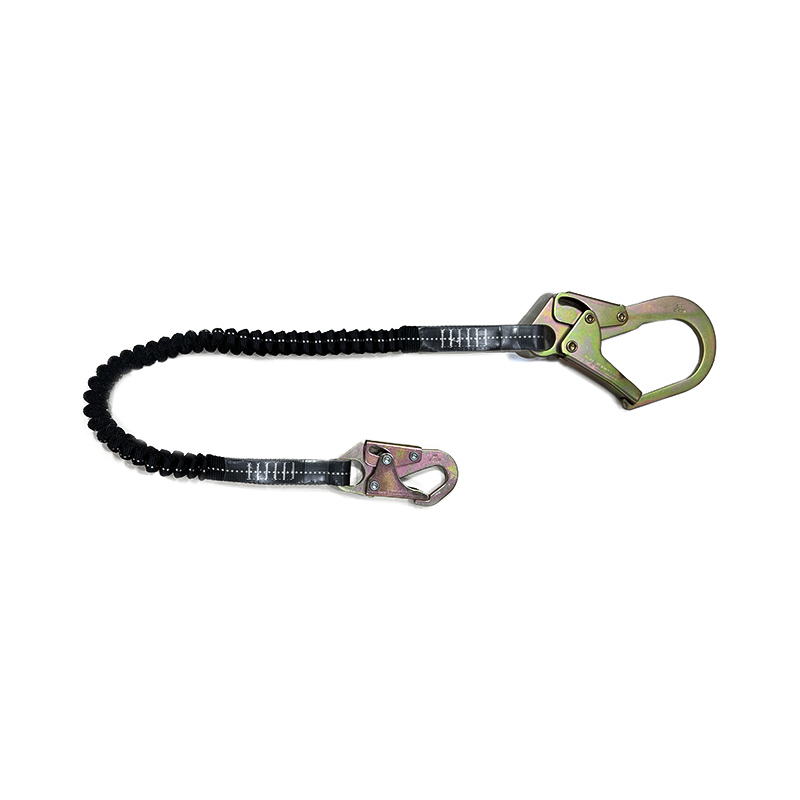
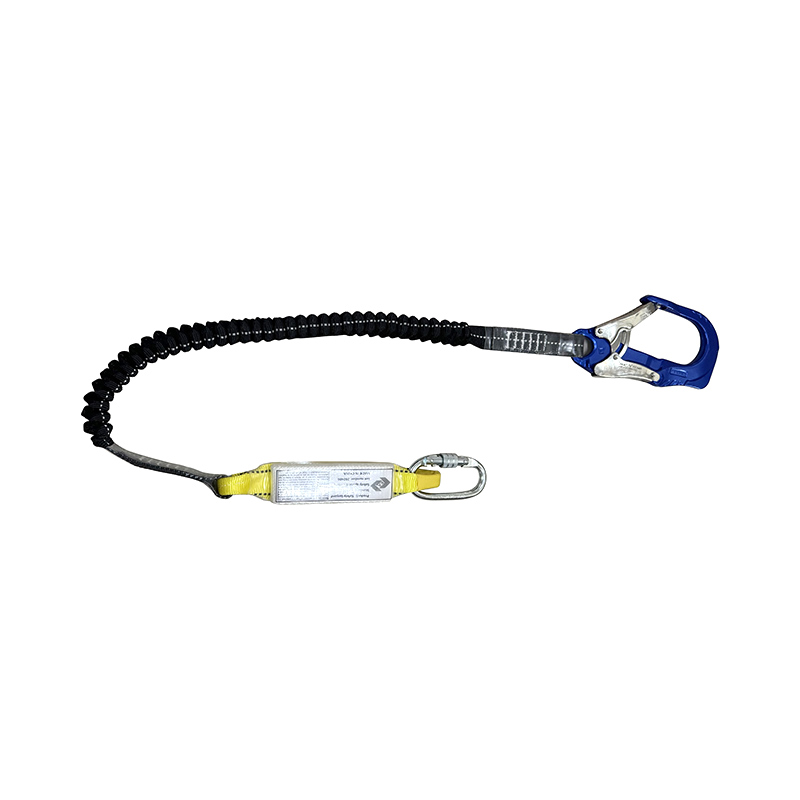
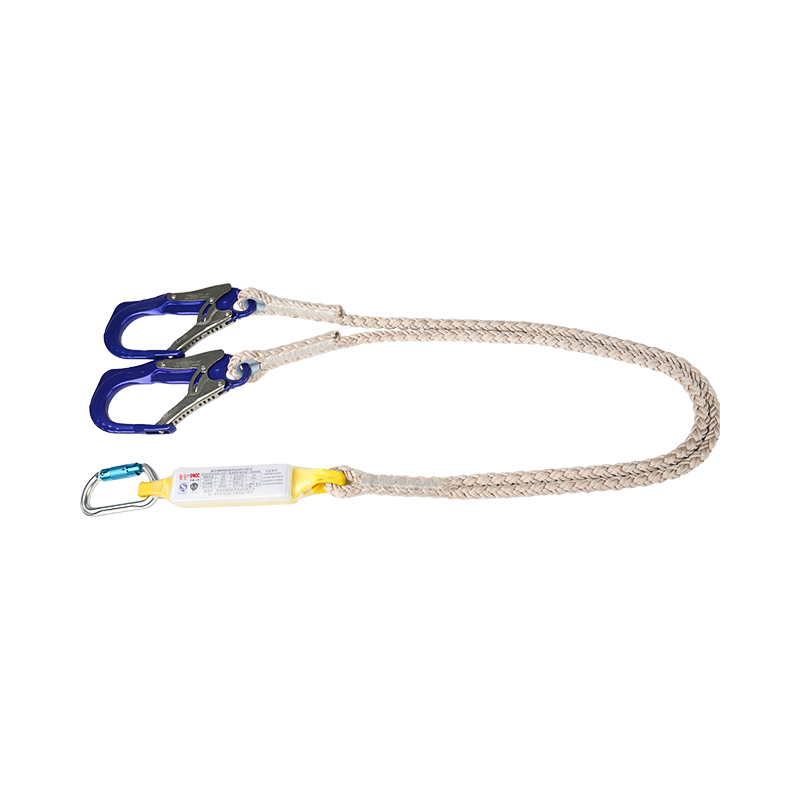
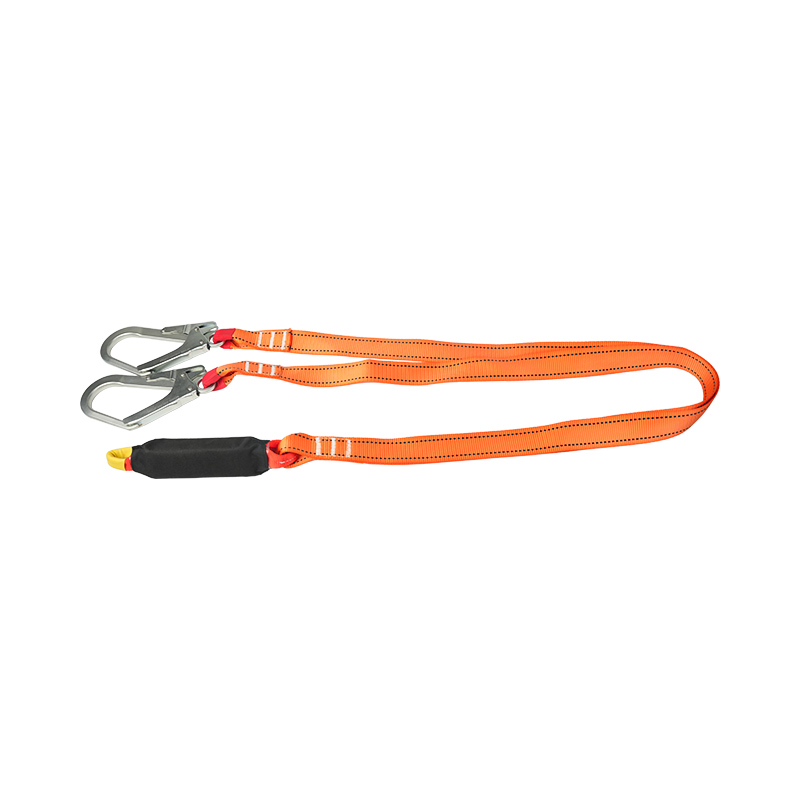
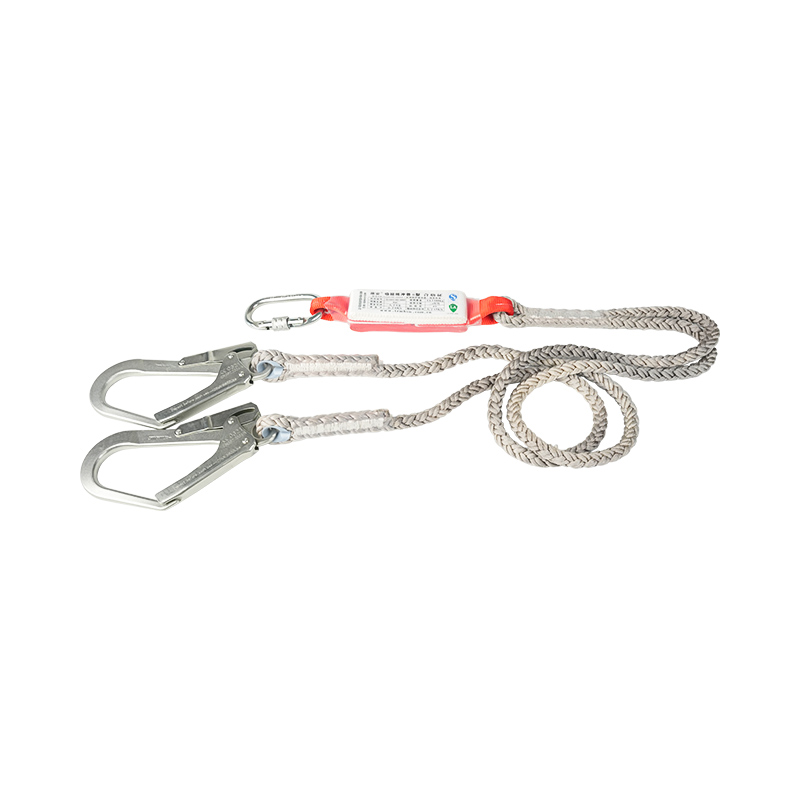
Once the first product line achieves sell-through validation, the case for expanding into adjacent branded PPE—safety lanyards, positioning lines, compatible safety ropes—becomes straightforward. Each addition benefits from the brand equity the harness has already established with distributors and end users. For a deeper look at building the commercial infrastructure around a custom fall protection brand, see the full guide on building a high-margin PPE brand through custom fall protection.
The brands that succeed in branded safety equipment are not the ones with the most elaborate logo. They are the ones that treated every detail—from the vector file submitted in week one to the hang tag inside the packaging box—as a single, coherent expression of the same promise. That consistency is what buyers remember, and what they reorder.

San Ye Road, Si Xiang Sub-district, Hai Ling District, Tai Zhou City, Jiang Su Province, China

+86 151-5262-8620
Copyright @ Taizhou KA Protection Products Co., Ltd. All Rights Reserved

 English
 Español
 عربى
عربى
