Content
A horizontal lifeline system is the answer you reach for when a crew has to stay attached across a long roof, a bridge deck or a run of steel framing, and no single anchor sits conveniently within reach of everyone. Instead of asking each worker to unclip and re-clip between distant tie-off points, the system runs a tensioned cable between two end anchors, supports it along the span, and lets people travel with a shuttle while staying connected the whole way.
We have spent a long time on the manufacturing side of fall protection, and the lesson that keeps coming back is simple: the cable is almost never the part that lets people down. What keeps a crew alive is the engineering wrapped around that cable, meaning the anchors, the energy absorber, the clearance underneath, and the harness and lanyard that connect a person to the line. Here is how we would walk a first-time buyer through it, in the order the questions usually come up.
It helps to think of the lifeline as a chain of load-bearing elements rather than a single product on a shelf. Each link has its own job, and each one is rated for the loads the whole assembly will see.
| Component | What it does |
|---|---|
| End anchors | Transfer cable tension into the structure and are rated for the system's reaction force, not just for a worker's body weight. |
| Intermediate supports | Hold the cable at a fixed height, limit sag and keep the line from whipping sideways during a fall. |
| Cable | Usually 8 mm or 3/8 in steel wire rope, chosen for low stretch and resistance to weather and corrosion. |
| In-line energy absorber | Deforms deliberately under load so the arrest force stays within limits the human body and the anchors can take. |
| Tensioner | Sets and maintains pre-tension, which keeps sag predictable and the shuttle rolling smoothly. |
| Cable shuttle | Runs along the cable so a worker can move hand over hand without ever disconnecting. |
| Personal equipment | Full-body harness plus a lanyard with a shock absorber, sized to the task and the environment. |
Short runs are often a single span between two anchors. Longer roofs, corners and irregular building shapes call for a multi-span layout with intermediate supports and possibly a corner arrangement. This is where a system stops being a catalogue item and starts being a small engineering project: someone has to confirm that the structure can take the load, that the cable sits at a sensible height, and that a fallen worker will not hit the ground, a lower roof or a machine below. A lifeline assembled by eye, with anchors picked because they looked solid, is where most of the real-world failures begin.
Three words get used almost interchangeably on site, and they should not be, because they lead to different equipment and different loads on the same cable.
Deciding which of the three you are designing for is the first decision, and it changes everything downstream: the lanyard length, the anchor height, the number of users the line can carry and the free space required beneath the work area.
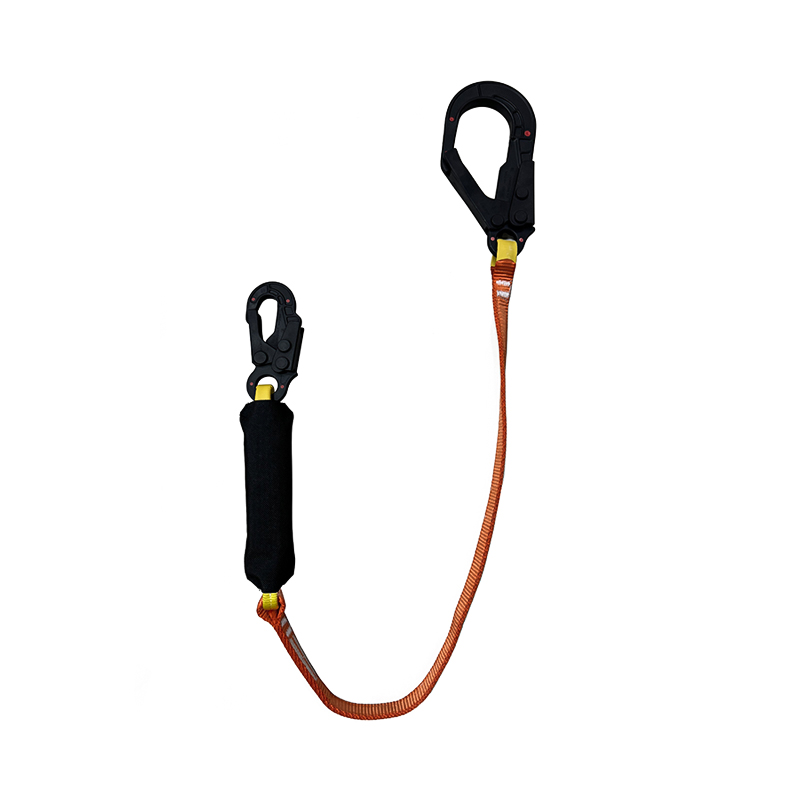
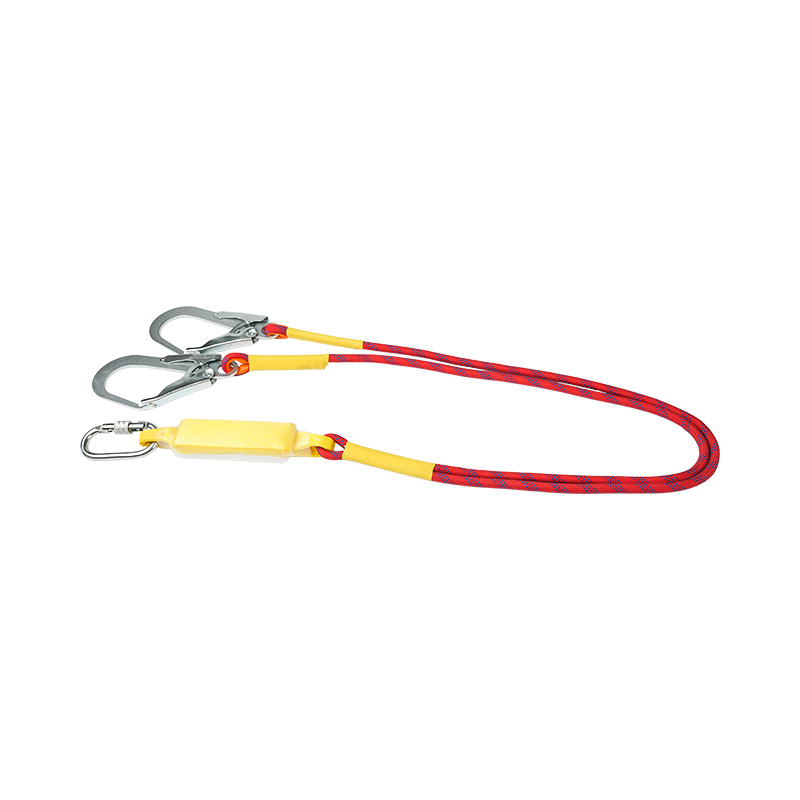
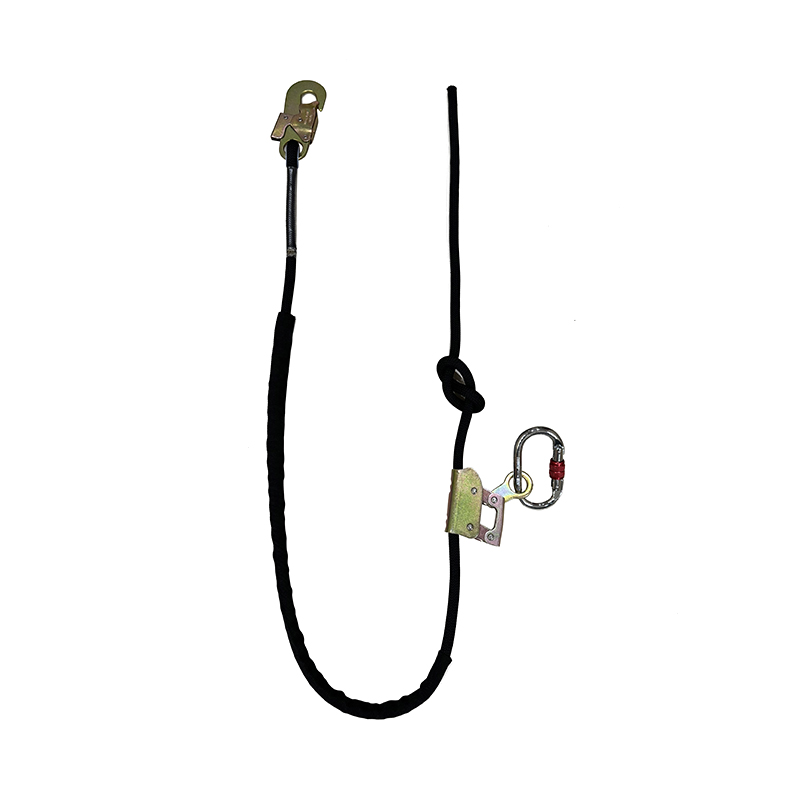 Nylon Rope Positioning Lifeline with Rope Grab and HooksFor hands-free work positioning where holding a position matters more than catching a fall, this static rope lifeline includes a rope grab and two hooks.View Product →
Where the job is really about holding a position rather than catching a fall, a positioning lifeline with a nylon rope core gives the hands-free support that steel erectors and façade crews ask for, and it pairs naturally with a work-positioning lanyard rather than a shock-absorbing one.
Most installations fall into a handful of shapes, and knowing which one matches your building saves a lot of back-and-forth during quotation.
Whatever the shape, the paperwork matters as much as the steel. A class C anchor device to EN 795, an engineered system designed to ANSI Z359.6, or an anchorage meeting the OSHA 5,000 lb per worker rule all mean something specific, and the documentation should state plainly which one applies, who calculated the loads and what the maximum user count is.
Once the type is settled, a short list of figures drives the drawing. Our engineers check these on every project, and a buyer can use them to sanity-check a quotation before signing.
Anchor selection is usually where these figures meet reality, and it is worth reading up on anchor types, load rules and span limits before brackets are ordered, because retrofitting anchors after the roof is finished is an expensive way to learn.
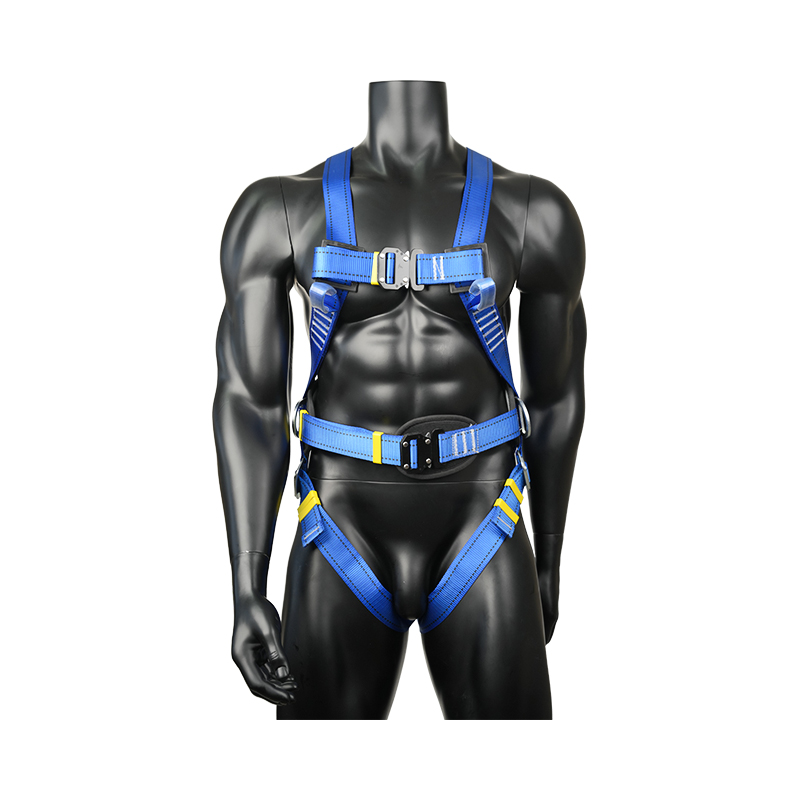
A lifeline is only half of the connection. The other half is what the worker wears, and here we prefer to keep things boring and predictable: a full-body harness with a dorsal D-ring, adjusted properly, and a lanyard whose length suits the distance to the cable.
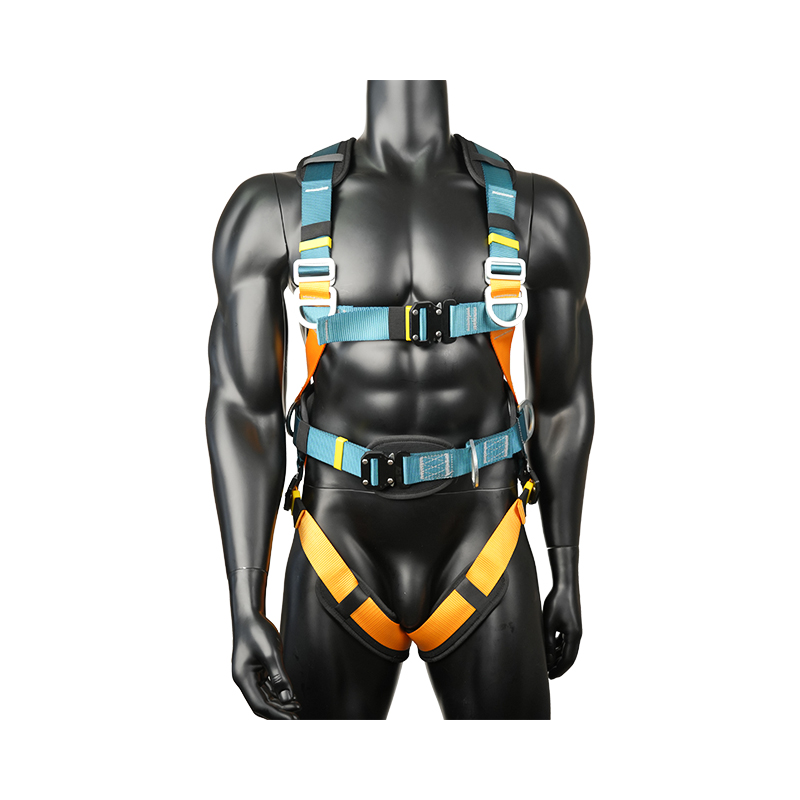 KA01 Universal Full Body Fall Protection HarnessSix D-rings, quick-release buckles and padded shoulder, waist and thigh points help keep this full-body harness stable during long elevated work shifts.View Product →
For long shifts on a roof or a lift platform, padding is not a luxury. A harness with six D-rings, quick-release buckles and five padded contact points spreads the load and keeps the fit stable when a worker is reaching, kneeling or climbing in and out of a shuttle.
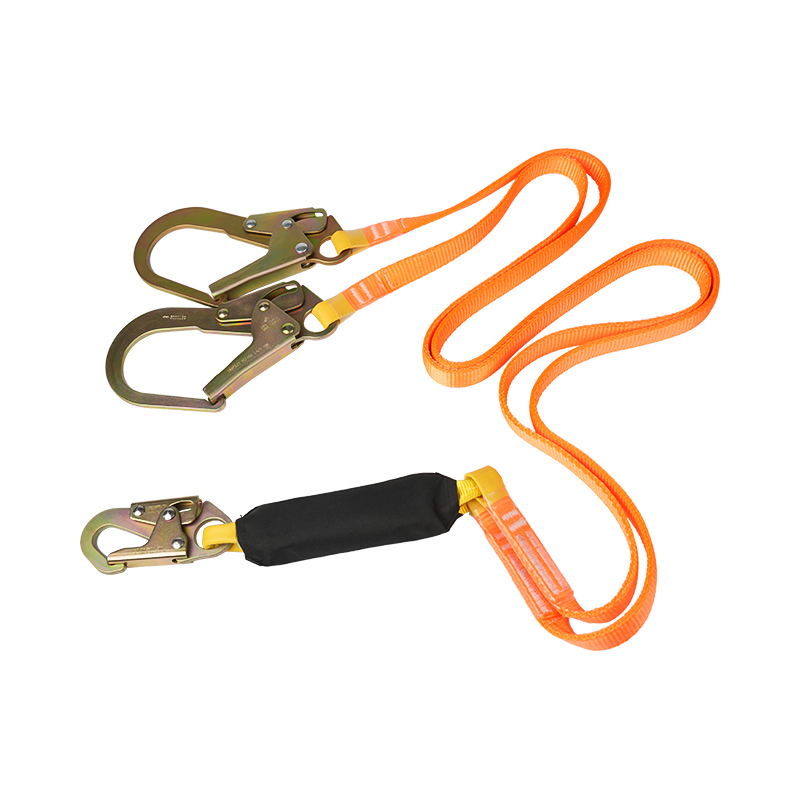
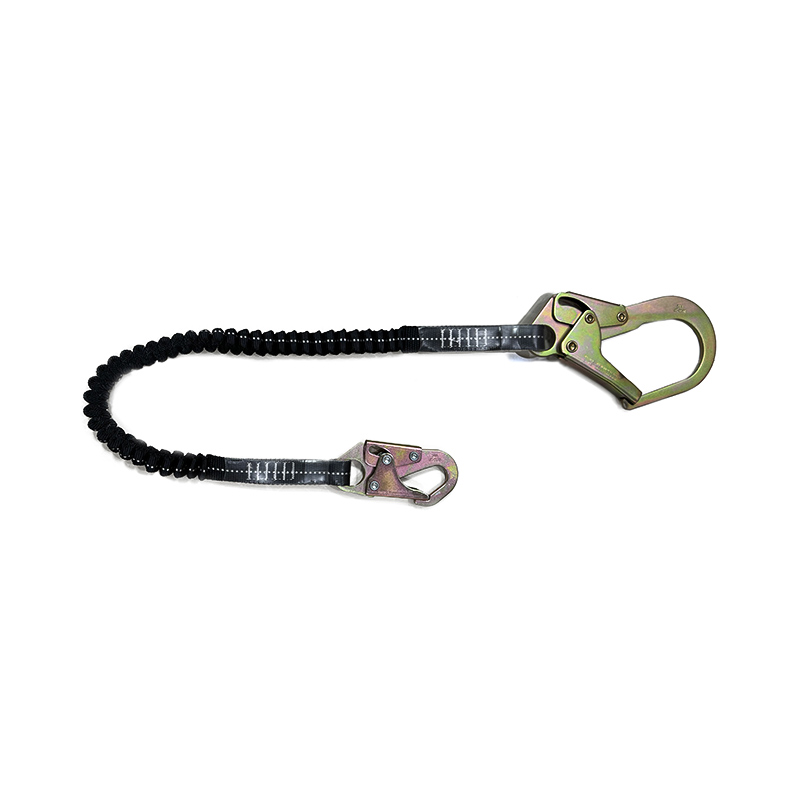
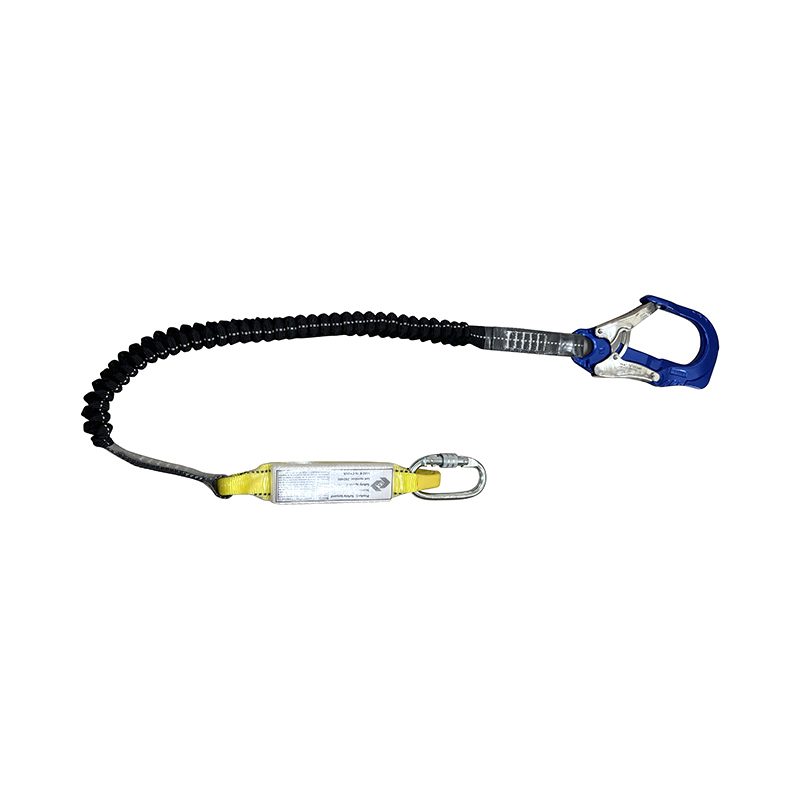
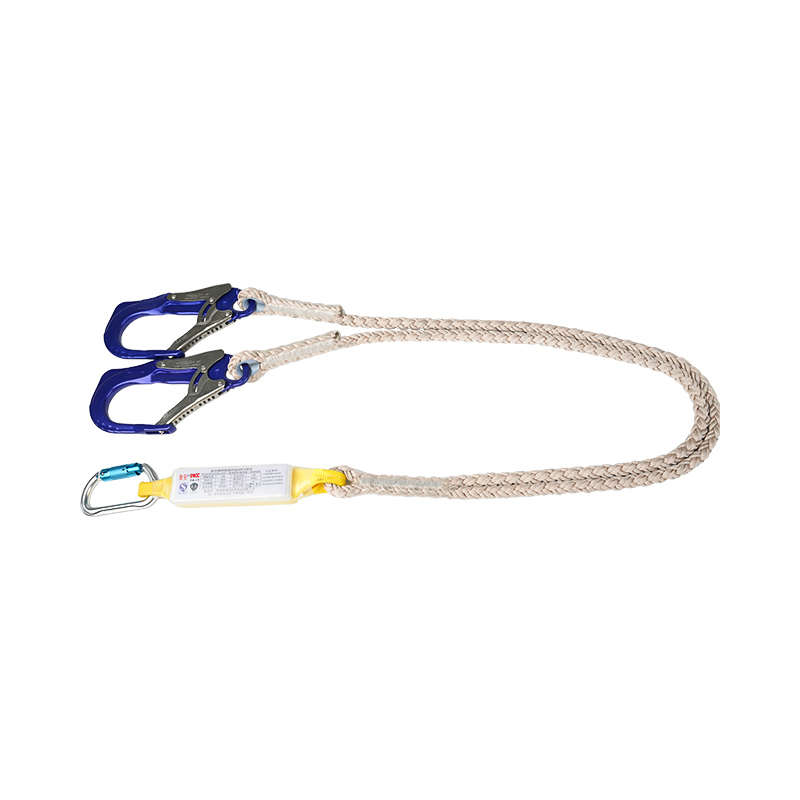
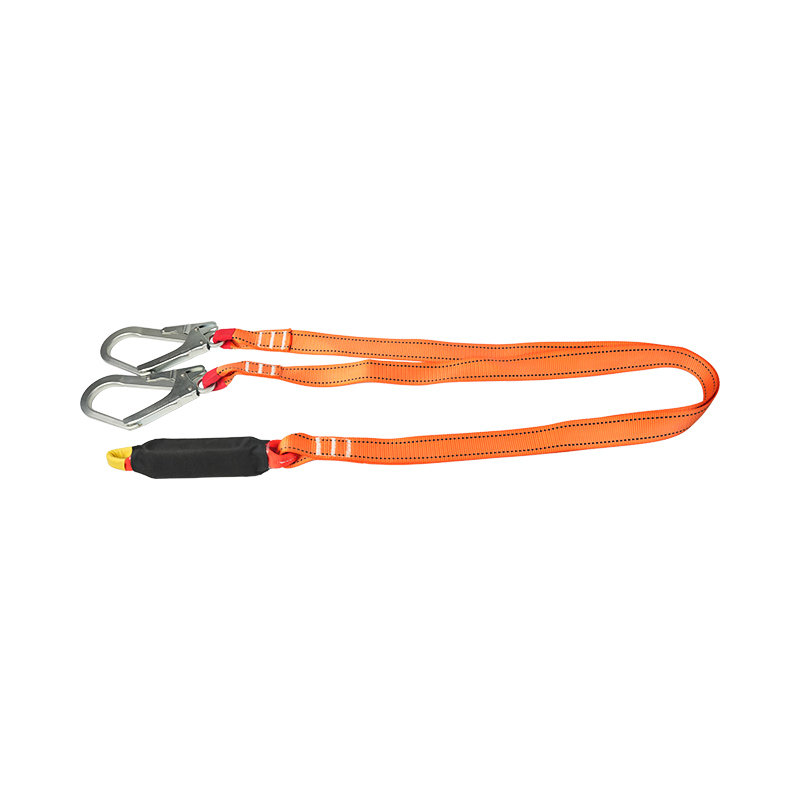
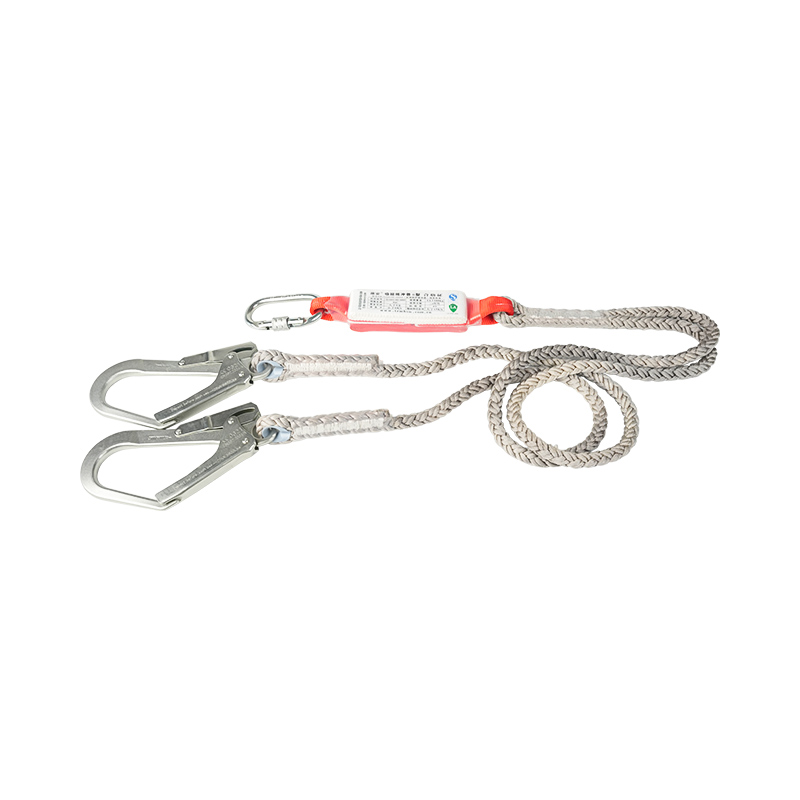
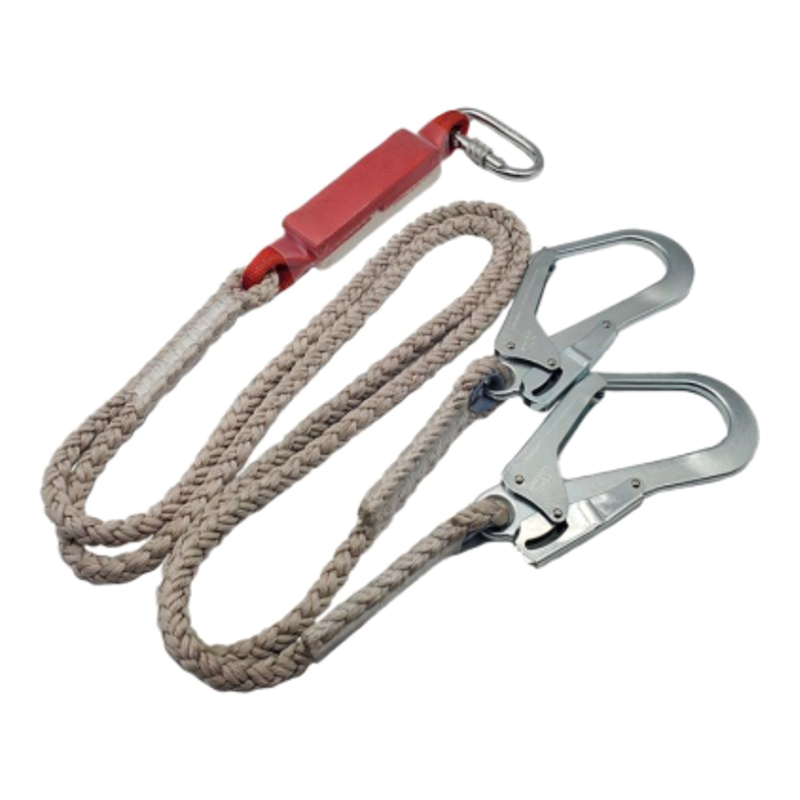 KA-L02 Shock Absorber Twin Safety LanyardA twin lanyard with energy absorber and two scaffold hooks lets workers maintain 100 percent tie-off when passing around supports or corners.View Product →
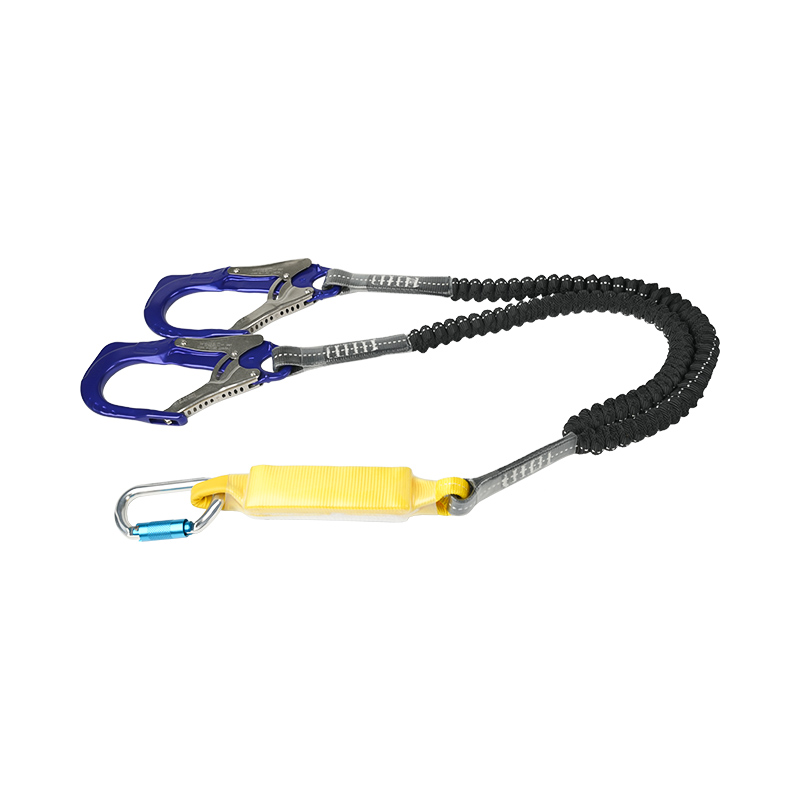
Where the shuttle has to be passed around a support or a corner, a twin lanyard with a shock absorber lets the worker clip the second leg before releasing the first, so there is never a moment with no connection at all. That habit of 100 percent tie-off is worth more than any single component in the system.
A lifeline that is installed well but never checked is a false sense of security. Handover should include the design drawing, the tension figure, the user limit and a clear statement of what the line is for.
Most of our customers are putting a package together rather than ordering one item: the harness, the lanyards, the rope and the hardware all arrive on the same purchase order. We have been making rope and protective gear since the 1980s, and you can read a little of how the factory grew from a thread workshop into a supplier of harnesses, lanyards and safety rope for buyers in Europe, North America and beyond.
If a project needs a custom webbing colour, a branded label or a harness built to your own specification, that conversation is easiest at the quotation stage rather than after the containers are booked. Tell us the work, the environment and the standard you have to meet, and the rest tends to follow quickly.
A horizontal lifeline system is one of those purchases that looks simple on a quote sheet and becomes serious the moment someone actually falls. Get the design, the clearance and the personal gear right, inspect it honestly, and the cable disappears into the background of the job, which is exactly where it belongs.

San Ye Road, Si Xiang Sub-district, Hai Ling District, Tai Zhou City, Jiang Su Province, China

+86 151-5262-8620
Copyright @ Taizhou KA Protection Products Co., Ltd. All Rights Reserved


 English
 Español
 عربى

