Content
Every year, roof-related falls account for roughly one-third of all construction fatalities. A properly assembled roof safety harness system is not just a piece of equipment—it is a lifesaving assembly of three interdependent parts: an anchor point, a full-body harness, and a lanyard or lifeline. Getting any one of them wrong can defeat the entire system. This guide walks you through exactly how to match each component to your roof type, work frequency, and budget so that you stay tied off correctly from ridge to eave.
A roof safety harness system is a complete personal fall arrest setup that ties the worker to the roof structure. It always includes three core components: an anchor point that attaches to the roof framing, a full-body harness worn by the user, and a connecting lanyard or vertical lifeline. If any one piece is missing or incompatible, the system is not compliant with OSHA 1926.502 and provides no real protection.
Anchors are the foundation. They must withstand at least 5,000 pounds of force per attached worker. Temporary anchors screw into the roof sheathing or rafters and are removed after the job. Permanent anchors are bolted through the deck and stay in place for future maintenance visits. The harness distributes fall forces across the thighs, chest, and shoulders, with the primary dorsal D-ring positioned between the shoulder blades. The lanyard connects that D-ring to the anchor, usually through an energy-absorbing element that limits arrest forces to 1,800 pounds or less. Together, these three parts create a closed loop that arrests a fall within inches instead of feet.
On a typical residential roof, a homeowner might use a simple temporary anchor kit with a 6-foot shock-absorbing lanyard. A solar crew repeating installations every day will often rely on a permanent ridge anchor and a twin-lanyard system that allows 100% tie-off while moving. Understanding how the pieces interact lets you build a system that actually fits the job.
The anchor is the most frequently misjudged part of a roof safety harness system. Its design must match the roof material, slope, and access point. Using a screw-down anchor on metal tile or a strap anchor on brittle clay tile can lead to sudden pull-out under load.
On asphalt shingle roofs—the most common residential surface—a temporary ridge anchor that hooks over the peak and screws into multiple rafters works well. Most models use multiple lag screws and a bracket plate to spread the load across at least two trusses. For metal standing-seam roofs, non-penetrating seam clamps are preferred because they avoid drilling holes. Tile roofs require anchors with specialty brackets that fit under the tile or over the ridge without cracking the material.
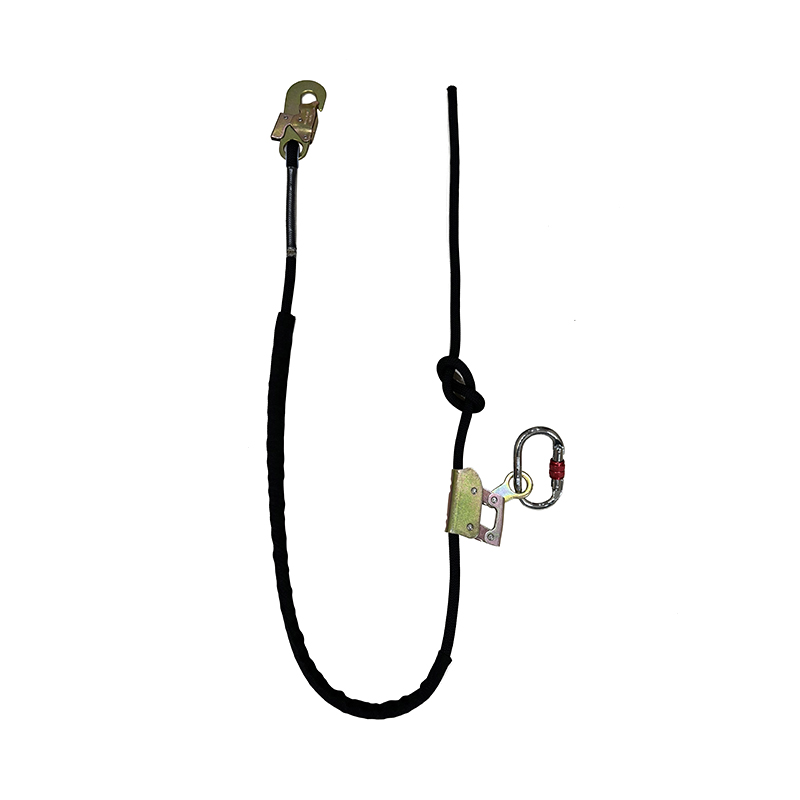
Steep slopes above 9:12 demand anchors placed at the ridge and often a second lower anchor to limit pendulum swings. Low-slope roofs under 4:12 may only need a single roof anchor or even a parapet clamp on commercial flat roofs. Permanent D-ring anchors bolted through the sheathing into rafters become the best choice for anyone who will access the roof seasonally for gutter cleaning, solar cleaning, or HVAC service.
| Roof Material | Recommended Anchor Type | Installation Method | Reusability |
|---|---|---|---|
| Asphalt Shingle | Temporary ridge anchor (lag screw) | Screwed into rafters through ridge | Removable, single use per site |
| Metal Standing Seam | Seam clamp (non-penetrating) | Clamps onto raised seams | Portable, reusable |
| Clay/Concrete Tile | Tile-over bracket anchor | Attached to framing; tile placed over bracket | Permanent or temporary |
| Flat/Low-Slope (EPDM, TPO) | Parapet clamp or weighted deadman anchor | Clamped to edge or ballasted | Reusable, no penetration |
| All Steep Slopes (>9:12) | Ridge anchor plus secondary lower anchor | Primary at ridge, secondary mid-roof | Depends on type |
Anchors must be installed into structural framing, never just the sheathing alone. A single anchor lag bolt that misses a rafter will fail catastrophically under a 2,000-pound dynamic load.
For any roof work where a fall is possible, a full-body harness is the non-negotiable industry standard. Positioning harnesses—sometimes called body belts—are not acceptable for fall arrest because they can concentrate forces on the abdomen and cause serious internal injury during a fall. The only exception is a positioning belt used in conjunction with a full-body harness for work positioning when leaning against a steep slope, but it never replaces the harness.
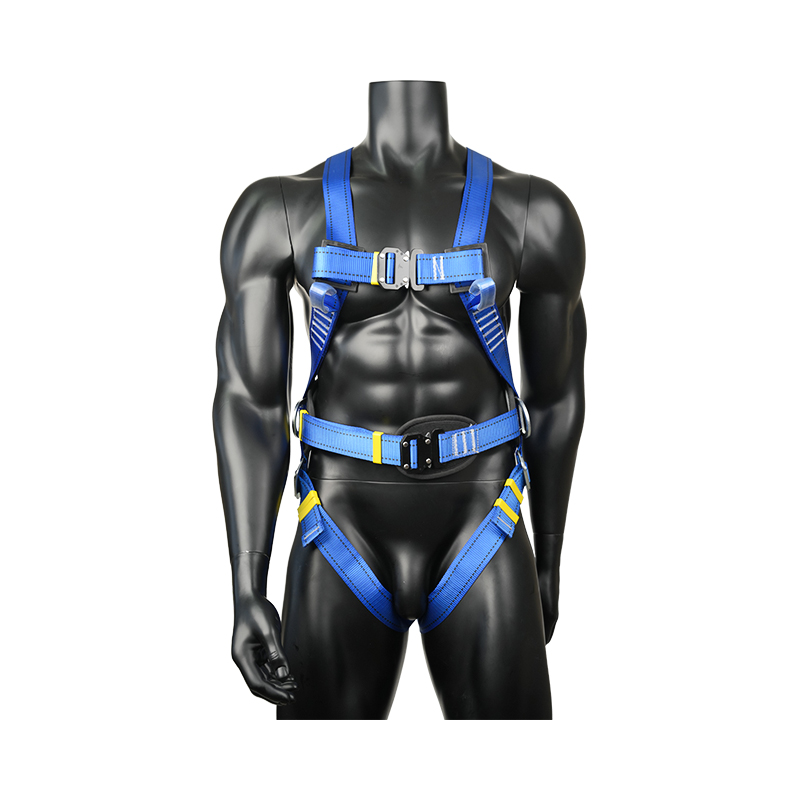
A quality full-body harness for roofing includes a dorsal D-ring between the shoulder blades for fall arrest, plus often side D-rings at the hips for work positioning and a front chest D-ring for ladder climbing or rescue. Shoulder, leg, and waist padding add comfort during hours-long jobs. Look for quick-release buckles that allow fast donning and doffing while wearing gloves. The dorsal D-ring must be positioned high on the back—between the shoulder blades—to keep the worker upright after a fall. Harnesses with a single back D-ring and no extra features are sufficient for occasional DIY work. For daily solar panel installation, a harness with side D-rings and multiple attachment points, like a universal full-body harness, dramatically improves mobility and reduces changeover time.
Climbing harnesses designed for rock climbing or mountaineering should not be used as roof fall arrest harnesses. Climbing harnesses sit low on the pelvis with a front tie-in point. In a roof fall, they can cause the wearer to invert, and the small tie-in loops are not rated for the snatch loads of a lanyard with shock pack. Use only ANSI Z359.11-certified full-body harnesses for any roof work.
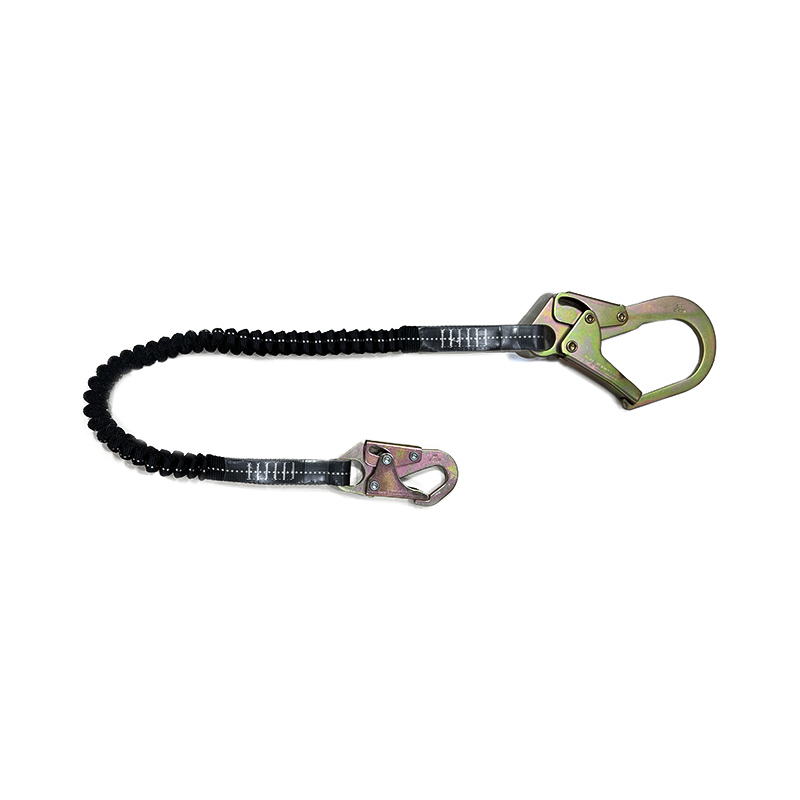
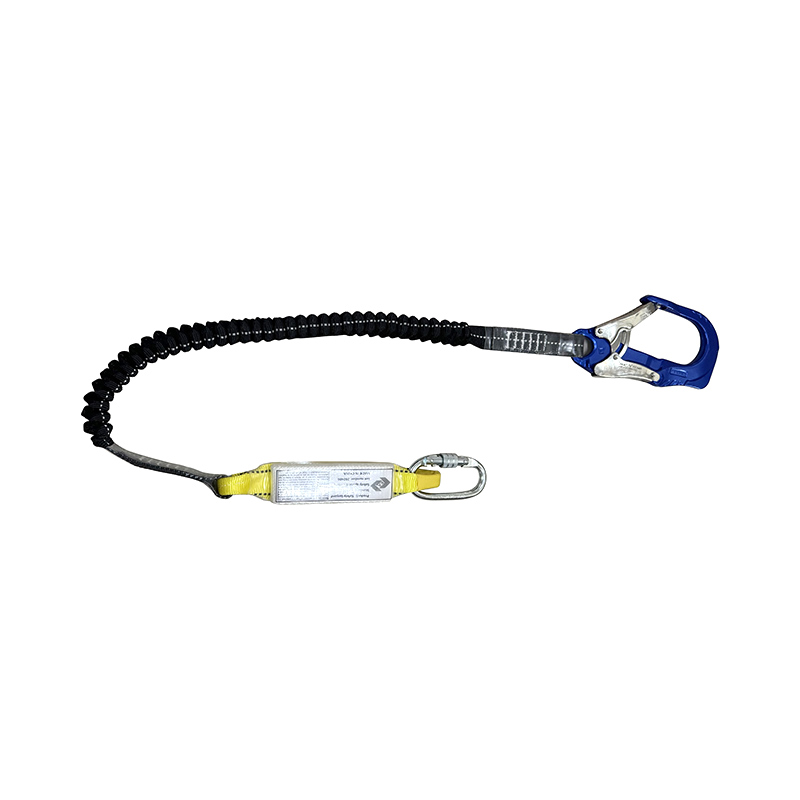
The lanyard is the link that determines how far you fall and how hard you stop. OSHA requires that a personal fall arrest system must limit the maximum arresting force to 1,800 pounds and prevent the worker from contacting a lower level. That means two things: the lanyard must include an energy absorber, and its total deployed length must be short enough given the available clearance.
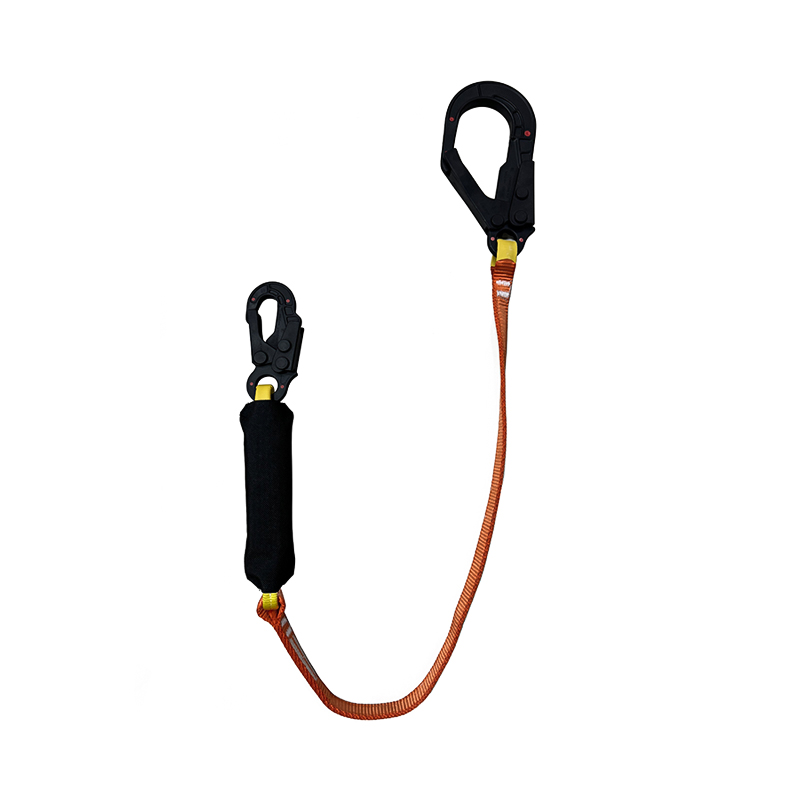
For roof work, most setups use a 6-foot shock-absorbing lanyard attached to an anchor at or above the worker. The shock pack tears open during a fall, extending the lanyard by up to 3.5 feet and reducing peak force. A lanyard without an energy absorber—such as a simple nylon rope tie-off—transfers full impact force to the body. That can exceed 3,000 pounds, well beyond what a human skeleton can endure without injury.
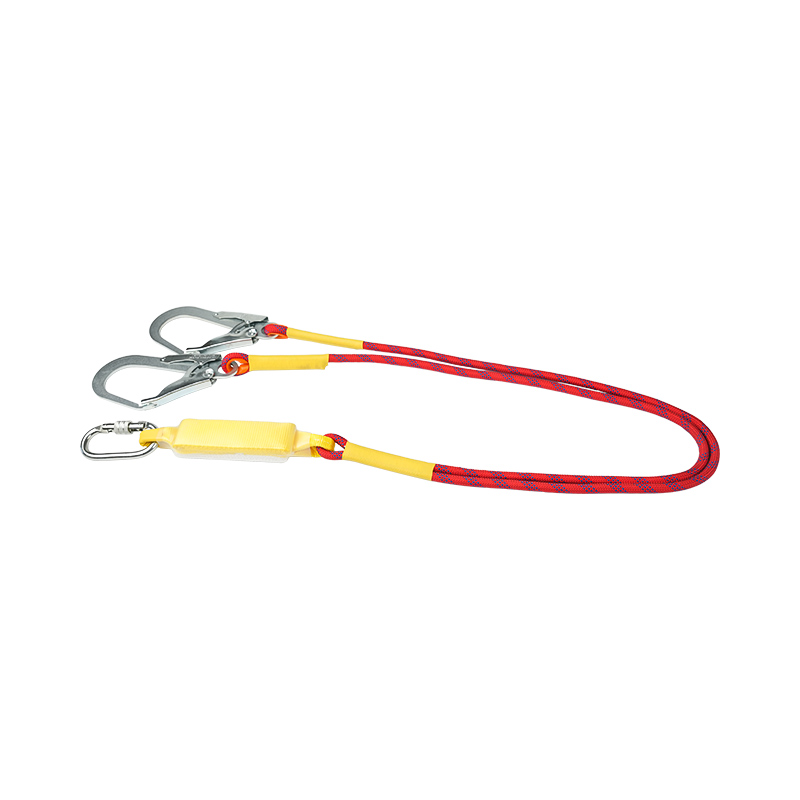
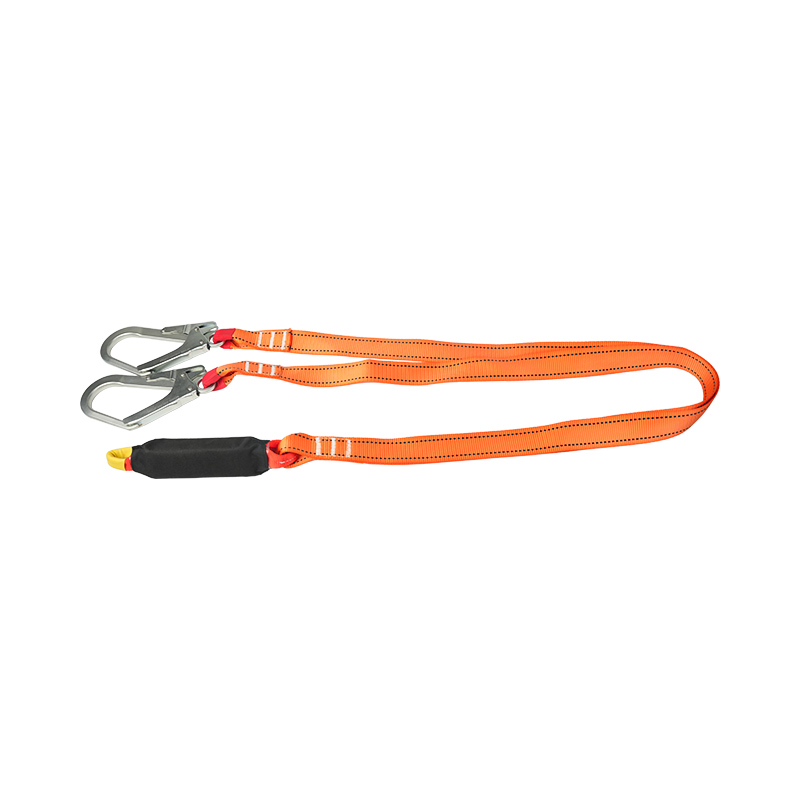
Material choice matters especially on roofs exposed to full sun and wet conditions. Polyester webbing lanyards outperform nylon rope lanyards for outdoor longevity.
| Property | Polyester Webbing Lanyard | Nylon Rope Lanyard |
|---|---|---|
| Abrasion Resistance | High — resists fraying from shingle edges | Moderate — wears faster on rough surfaces |
| UV Resistance | Good — retains 80% strength after 3-5 years sun exposure | Poor — loses up to 30% strength in 1-2 years outdoors |
| Water Absorption | Low — minimal strength loss when wet | High — absorbs water, loses 10-15% tensile strength when saturated |
| Weight | Lightweight, dry feel | Heavier, becomes stiff when wet |
| Typical Cost | $40–$90 | $30–$60 |
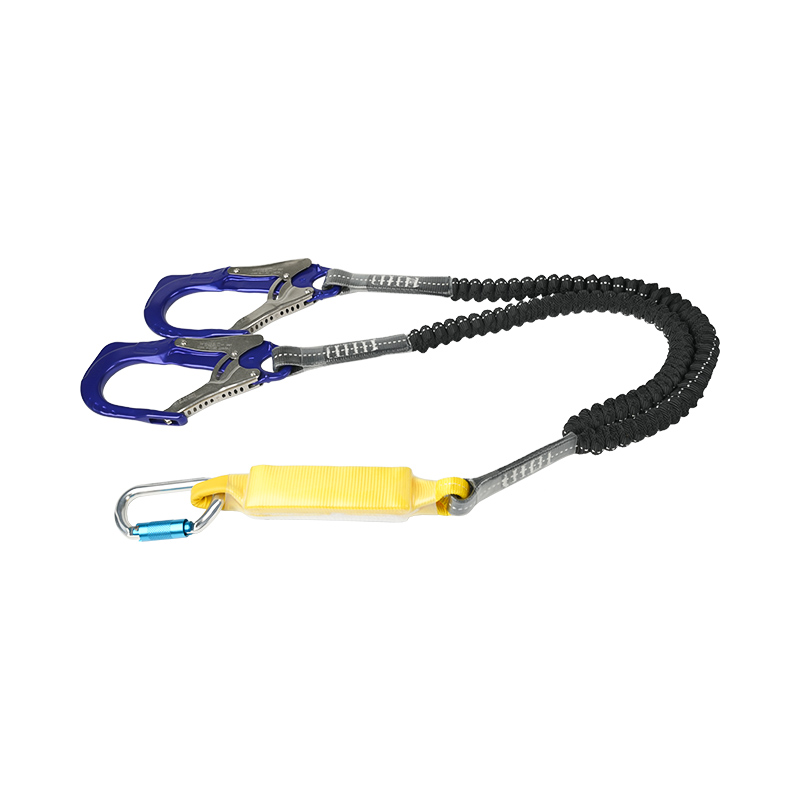
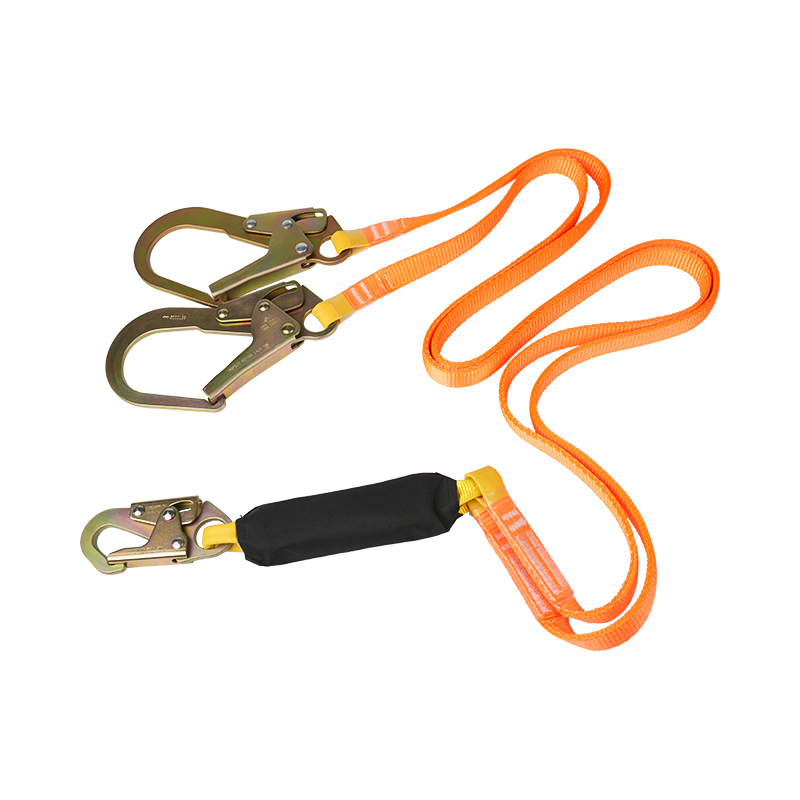
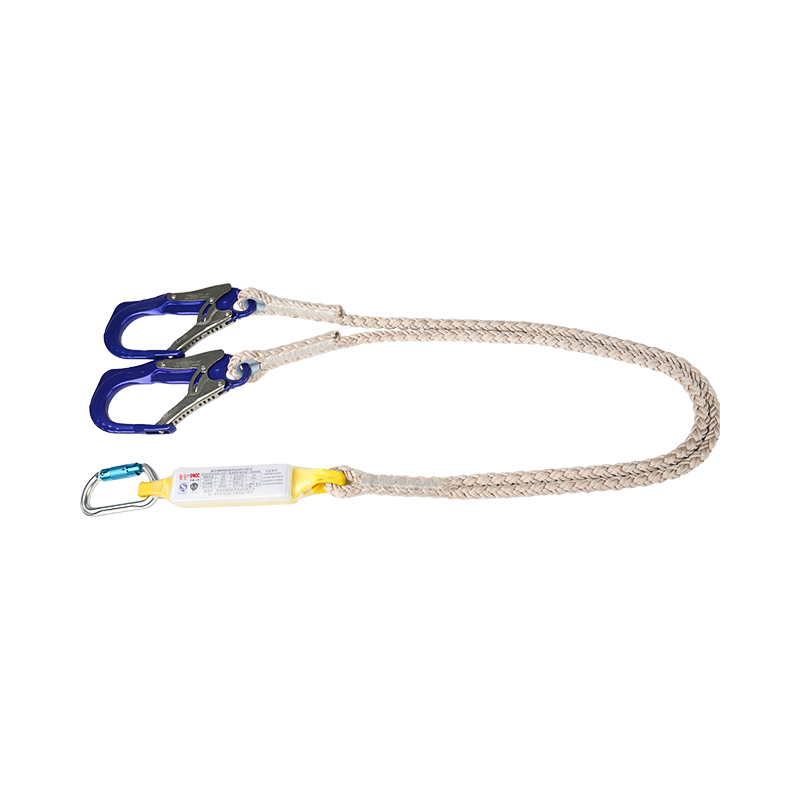
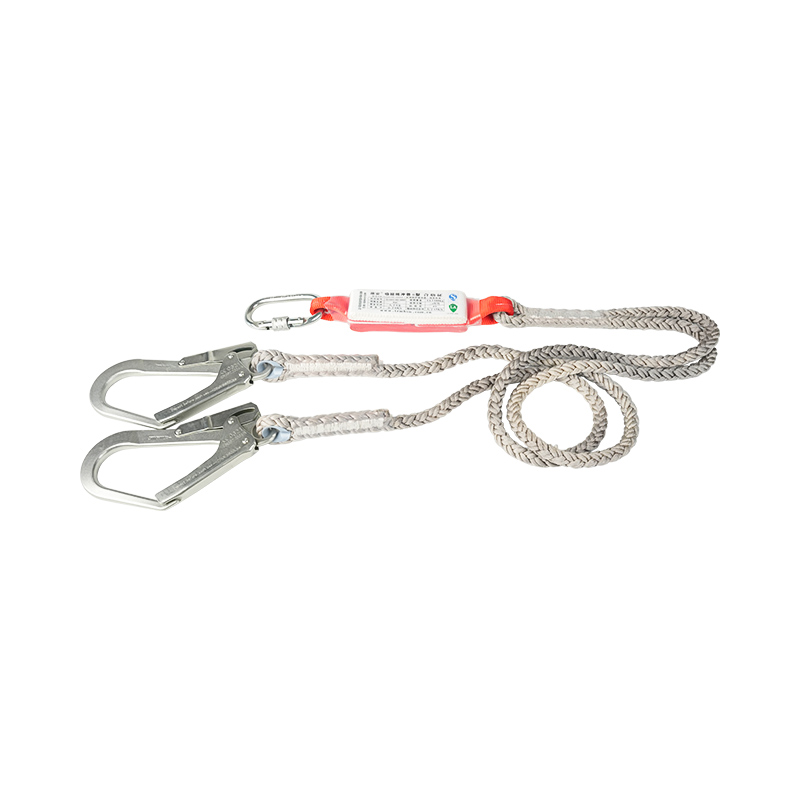
For frequent roof access, a twin safety lanyard with double legs allows you to move from anchor to anchor while staying tied off. Solar crews often combine this with a polyester safety rope used as a horizontal lifeline to create a continuous tie-off path across the roof. The twin lanyard’s built-in shock absorbers keep fall forces low while maintaining mobility.
Following a consistent sequence turns a collection of parts into a reliable fall arrest system. These steps assume a typical asphalt shingle roof with a temporary ridge anchor and a single lanyard.
Never work on a roof with a lanyard longer than 6 feet unless you have verified that the total fall clearance—including lanyard extension, harness stretch, and a safety margin—keeps you from hitting the ground or a lower level. For an eave height of 12 feet, a 6-foot lanyard with shock pack can still result in a fall distance of over 17 feet if the anchor is at foot level.
Most rooftop falls involving a harness system happen not because the gear failed, but because the user made one of these common errors.
Cost should never determine whether you use a system, but it does influence which quality tier fits your job frequency. Even the most basic setup must meet ANSI Z359.1 and OSHA standards. The difference between levels is largely durability, added features, and convenience for regular use.
| Budget Level | Typical Cost Range | Components Included | Best For |
|---|---|---|---|
| Entry (DIY Homeowner) | $120 – $180 | Temporary ridge anchor, 1-D-ring harness, 6-foot shock-absorbing lanyard | One-off roof inspections, gutter cleaning, single repairs |
| Mid-Range (Frequent DIY, Solar DIY) | $200 – $300 | Adjustable anchor, 3-4 D-ring padded harness, twin shock-absorbing lanyard | Seasonal maintenance, small solar projects, repeated access |
| Professional (Contractors, Solar Crews) | $350 and above | Permanent or high-end temporary anchor, full-body harness with multiple D-rings and quick-release buckles, twin lanyard system, polyester rope lifeline | Daily roof work, crew safety, high-slope and commercial jobs |
Entry-level kits packaged by reputable manufacturers ensure component compatibility. Spending slightly more for a harness with leg and shoulder padding and quick-adjust buckles noticeably reduces fatigue. In the professional tier, harnesses with 6 D-rings and work positioning features—such as the universal full-body harness linked earlier—let you combine fall arrest with hands-free tool access and rapid anchor transfer.

San Ye Road, Si Xiang Sub-district, Hai Ling District, Tai Zhou City, Jiang Su Province, China

+86 151-5262-8620
Copyright @ Taizhou KA Protection Products Co., Ltd. All Rights Reserved

 English
 Español
 عربى
عربى
