Content
A harness sitting in a gang box can look brand new and still be unfit for a single shift. Webbing stiffens under UV exposure, stitching chafes against concrete, shock-absorber packs get soaked and never dry, and D-rings corrode quietly in coastal humidity. The difference between a compliant program and a dangerous one is rarely the hardware itself. It is whether the people on site know how to look at that hardware and make the right call.
Fall protection equipment inspection training is how that judgement gets built and sustained. It teaches workers, competent persons, and tool-room staff to check gear before every use, to document periodic inspections, and to remove anything that fails a defined criterion instead of quietly putting it back on the truck. This guide covers what a solid program contains, how often inspections should happen, and how thoughtful equipment selection makes the whole routine easier to keep.
Most employers with an active fall protection program have already bought the right products. What they often lack is a repeatable way to confirm that those products are still safe months or years later. OSHA's personal fall protection rule requires equipment to be inspected before each use for wear, damage, and other deterioration, and defective components to be removed from service. ANSI/ASSP Z359.2 goes further, describing the inspection and record-keeping duties that belong inside a managed fall protection program.
In practice, the same four failures appear again and again on job sites and in storage rooms:
Every one of those failures is a training problem before it becomes an equipment problem.
A credible program has two halves: the rules and responsibilities that frame the work, and the hands-on practice that turns knowledge into habit. Classroom slides alone produce people who can recite a standard but cannot tell a scuffed lanyard from a structurally damaged one.
Trainees should leave the first session able to answer basic questions without hesitation:
The second half is where real skill develops. Trainees should handle both serviceable and retired samples and work through the same checklist every time:
Frequency is set by the manufacturer's instructions, the applicable standard, and the environment. Heat, chemicals, saltwater, abrasive dust, and heavy daily use all shorten inspection intervals. The schedule below reflects what most well-run programs adopt as a baseline.
| Equipment | Before each use | Formal inspection | Notes |
|---|---|---|---|
| Full-body harness | Visual and tactile check by the user | At least annually by a competent person | Always sooner if the manufacturer requires it or after any fall event |
| Shock-absorbing lanyard | Shock pack, webbing, and hooks | Annually | Retire immediately if the pack is deployed or torn |
| Self-retracting lifeline | Payout, retraction, housing, connector | Annually, more often in dirty or corrosive settings | Internal service may need to be done by the manufacturer |
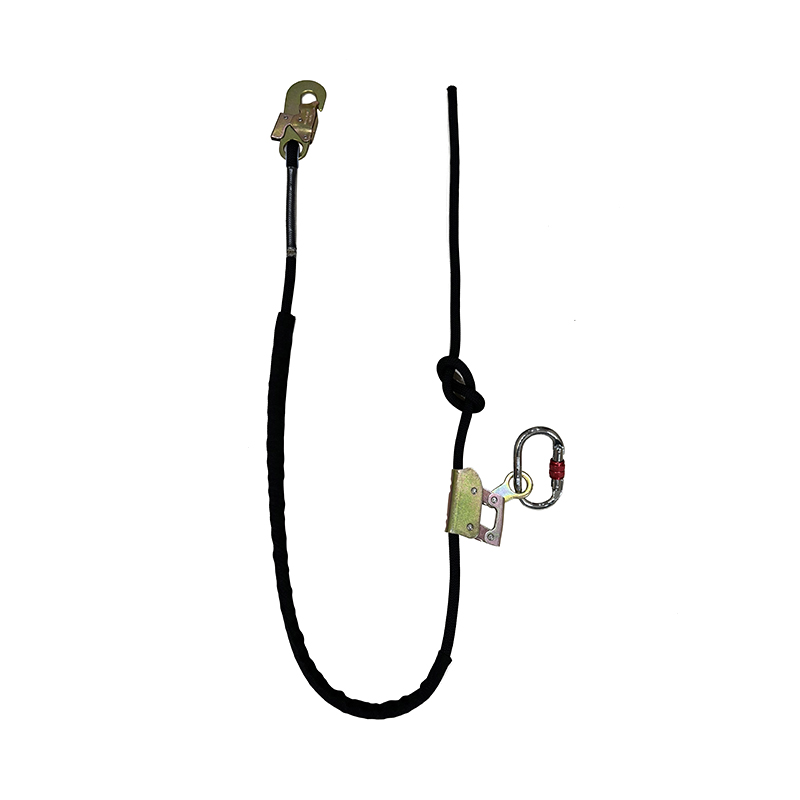
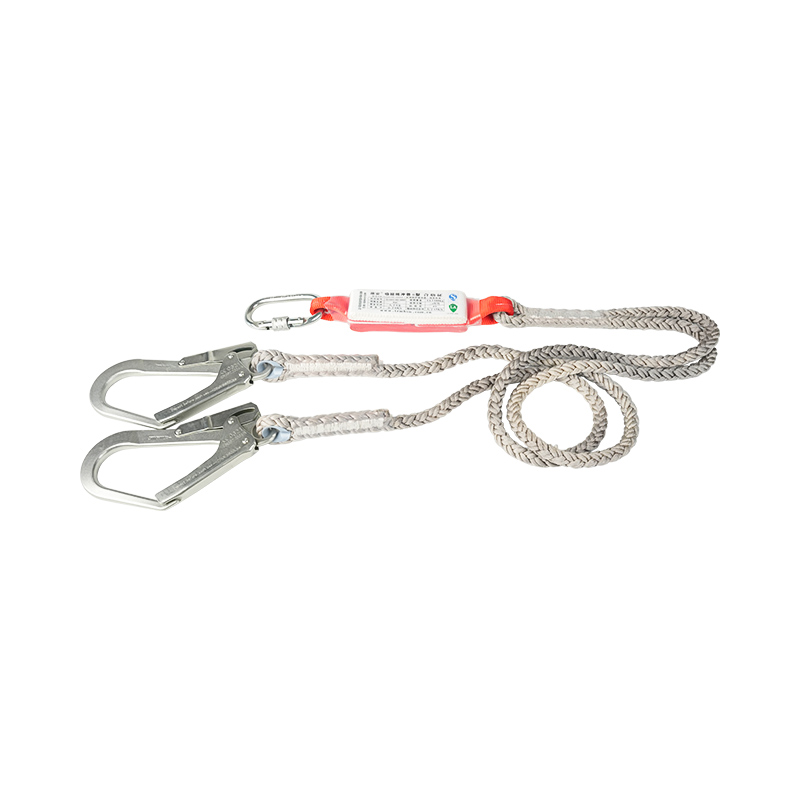
| Rope lanyard or safety rope | Abrasion, glazing, sheath damage | Annually and after unusually heavy use | Retire if the core is visible or the rope feels flat |
| Anchor connector or carabiner | Gate action, locking sleeve, cracks | Annually as part of the system check | Remove if the gate does not close completely |
Training is only effective if it produces consistent rejection decisions. A worker who is unsure tends to keep using the item, so the criteria need to be simple and unambiguous. Remove equipment from service when any of the following is present:
Tag the item, record the removal, and store it away from serviceable stock so it cannot be picked up by mistake. If you want a deeper walkthrough of the working relationship between harnesses, lanyards, and connectors, our fall arrest lanyard and safety harness training guide covers the system level view.
Documentation is what turns individual diligence into a system. A usable inspection log captures the item's identification number, the inspection date, the inspector's name, the result, and the next due date. Many buyers also photograph each item at the point of first issue, which makes later damage disputes far easier to settle and gives supervisors a visual benchmark when they train new staff.
Training itself needs a refresh cycle. Many programs retrain every twenty-four months, and almost all of them retrain sooner when something changes: new equipment models, a revised standard, a near miss, or a new worksite hazard such as live electrical exposure or work over water. Short toolbox talks between formal sessions keep the habits sharp, and rotating a different crew member through the inspection role each month spreads competence across the team instead of concentrating it in one person.
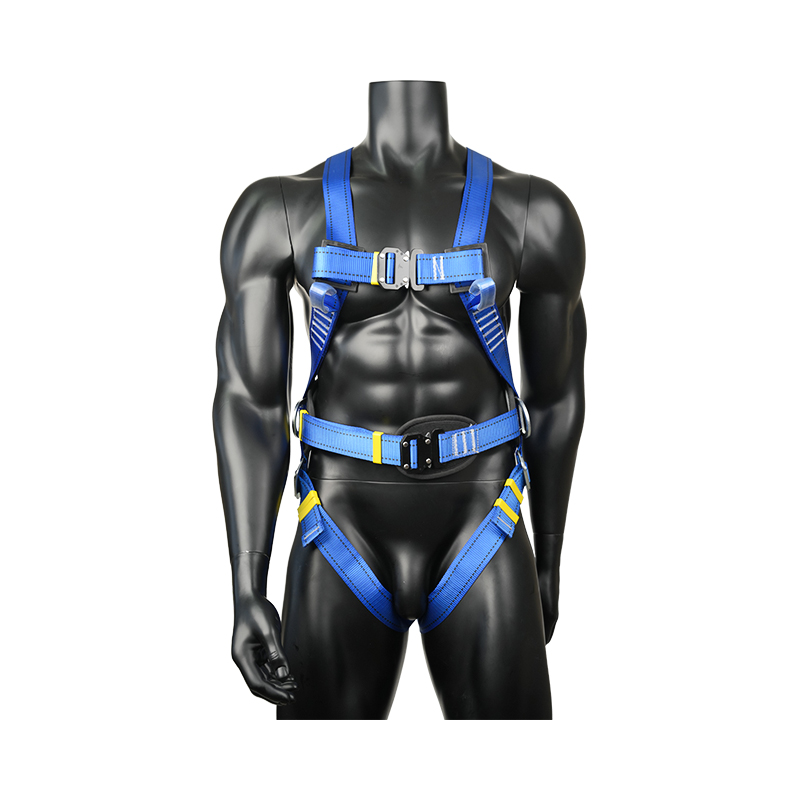
Training gets simpler when the gear is built to be inspected. Contrasting thread colours make stitch damage visible, durable labels stay legible after two years in a service truck, and clear wear indicators remove guesswork. When buyers review our full-body safety harness range, we encourage them to think about inspection before price: how quickly can a supervisor confirm that the webbing is sound, that every D-ring rotates freely, and that the buckles still engage with a definite click.
For construction and general industry crews, a straightforward certified harness with a rear attachment point is often the most practical choice, because there is less hardware to inspect and fewer places for damage to hide.
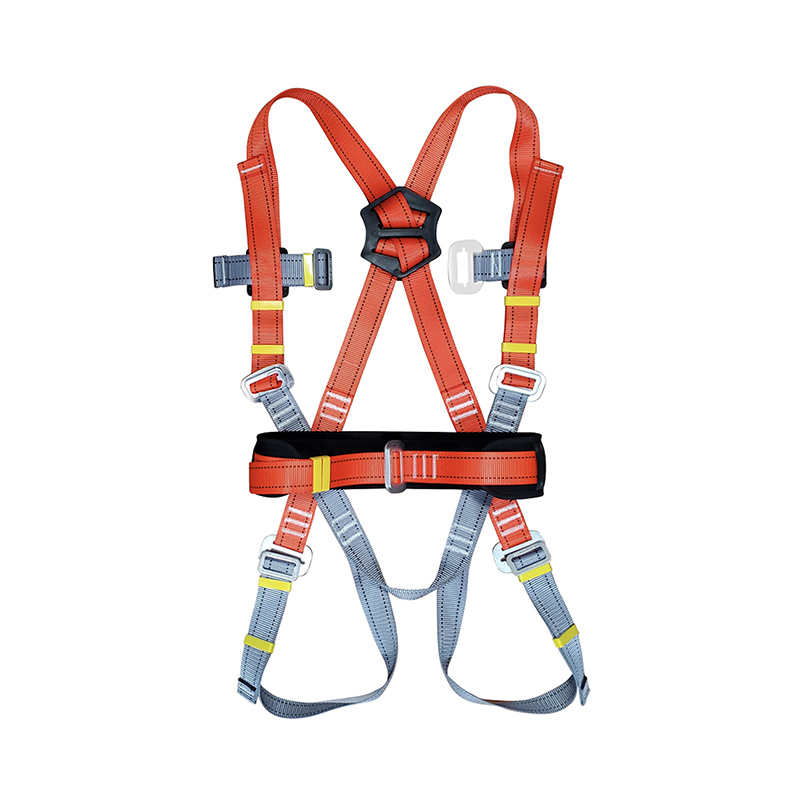 KA06 1 D ring construction full body safety harness EN361The KA06 1 D-ring construction full body harness complies with EN361 and is designed for fall protection in aerial work. Made of high-strength polyester, the harness h...View Product →
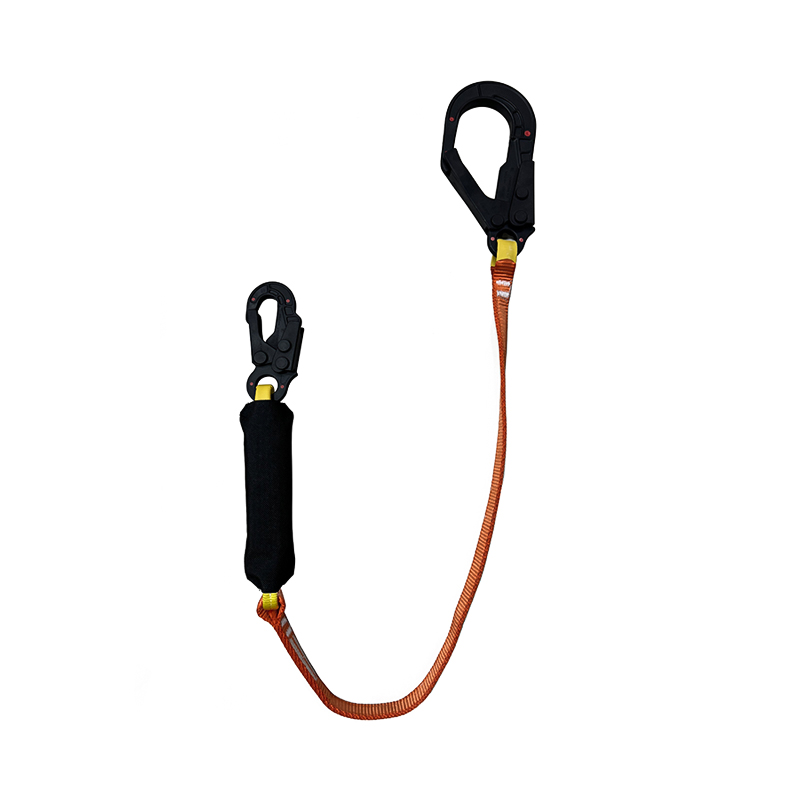
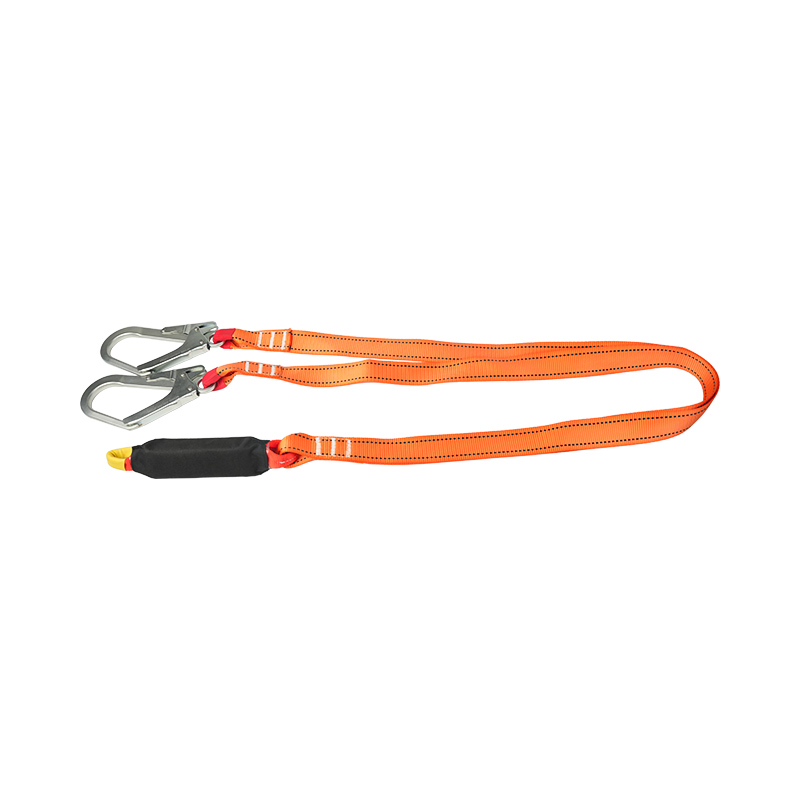
On the lanyard side, a single leg with an integrated shock absorber gives workers a clear visual cue: once the pack deploys, the lanyard is finished and the warning flag tells the whole story without any measuring.
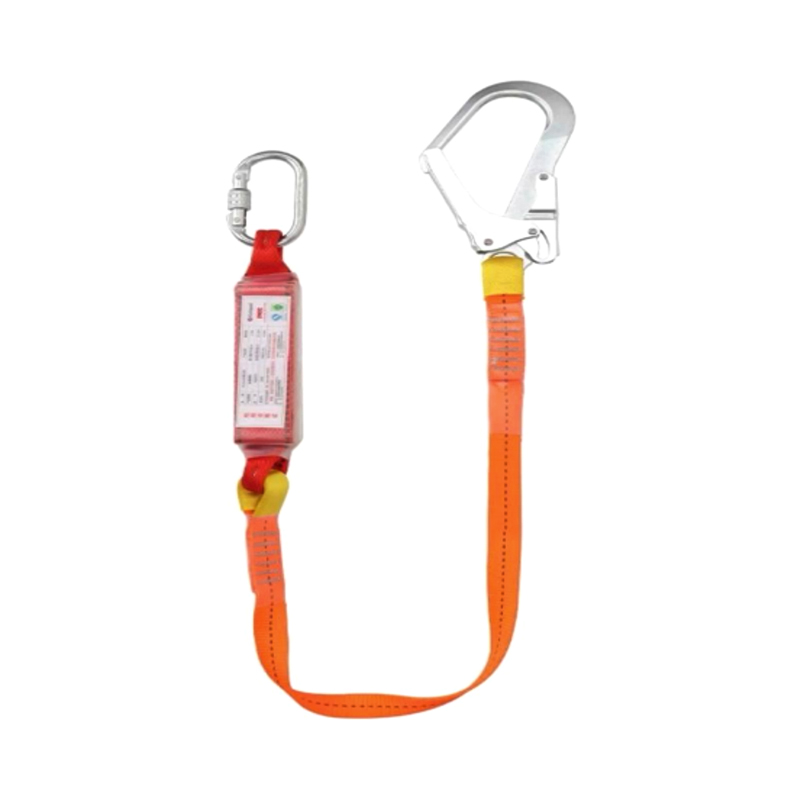 KA-LS06 Fall Arrest Shock Absorber Single Lanyard With Polyester 44mm Webbing,1 Scafford HThis lanyard is a webbing-style fall protection single lanyard. The webbing is made of high-strength polyester fibers, with a width of 44mm. Both ends of the lanyard f...View Product →
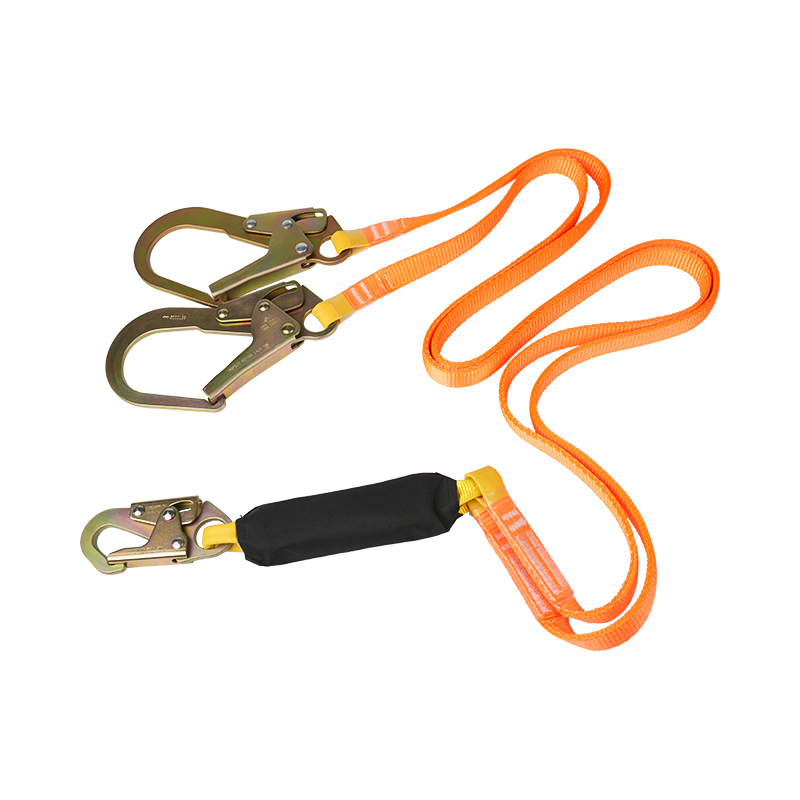
Utility and electrical teams have an extra dimension to inspect, since insulating properties can be compromised by moisture, contamination, or surface damage. Dielectric assemblies with sealed webbing and insulated hardware make that judgement far more reliable in the field.
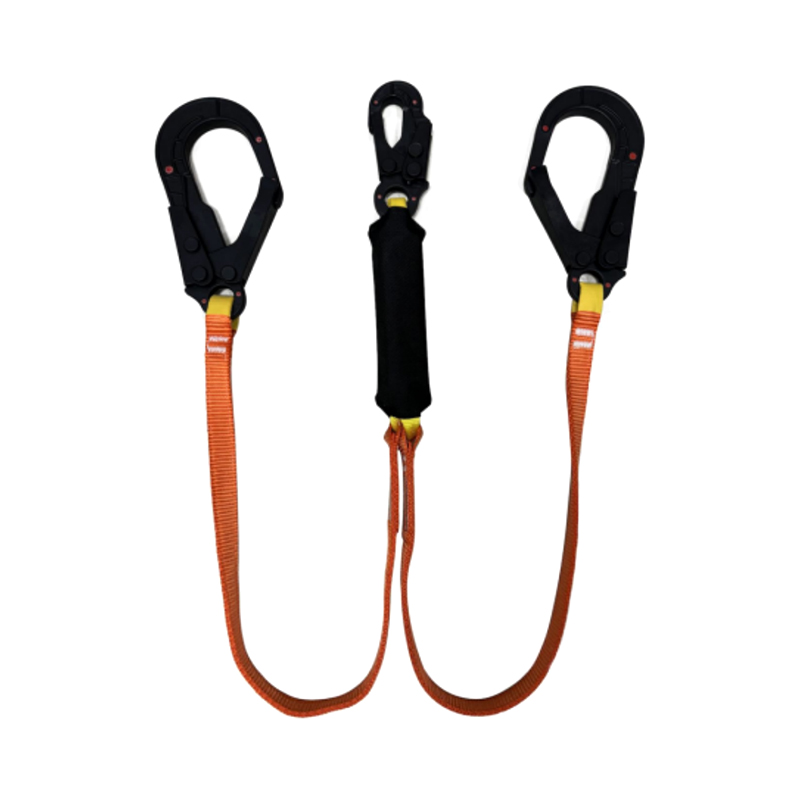 KA-L16 Dielectric Twin Lanyard With Shock Absorber, Two Insulated Big Hooks, One InsulatedThis insulated double lanyard is specifically designed for operators working in environments with potential electrical hazards. All the metal components are insulated....View Product →
Fall protection equipment inspection training works best when it is treated as an operating routine rather than a one-off event. Give people the time to inspect, the criteria to judge against, the authority to remove gear, and the paperwork to prove it happened. Then match the equipment to that discipline, choosing products whose condition can be read at a glance.
As a manufacturer that has been producing safety harnesses, lanyards, and ropes since our predecessor factory opened in 1986, we see the consequences of both good and poor inspection habits across the markets we serve. The companies that handle it well are rarely the ones with the largest budgets. They are the ones where every worker knows exactly what to look for, and no one is embarrassed to take a suspect harness out of service.

San Ye Road, Si Xiang Sub-district, Hai Ling District, Tai Zhou City, Jiang Su Province, China

+86 151-5262-8620
Copyright @ Taizhou KA Protection Products Co., Ltd. All Rights Reserved



 English
 Español
 عربى
عربى
